Have you been dreaming of lovely blue skies and warmer weather ? I am !!!
I know we are still in March and although Spring has officially started , it still does not feel like it.
Spring always brings me so much joy. To me its the start of hope , new life and possibilities.
I looked at the photos in my phone and saw last year’s springtime memories and realised I have not documented them in my journal!
When I received my Horray for Spring kit , I just fell in love with the gorgeous spring colours. The kit spoke positivity , new beginnings and new adventures.
I used the kit as inspiration for my journal page .
Paper flowers
Firstly , I made some paper flowers from old kit papers . I choose pastel and string colours and I was spoilt for choice ! The challenge was which one do I like and chose to use.
I also used an old floral die that I bought ages ago. I just love being able to use anything in my arsenal to create something. I delved into my Lollipop box of bits and bobs and found some flat backed pearls that I can use for the centres of the flowers.
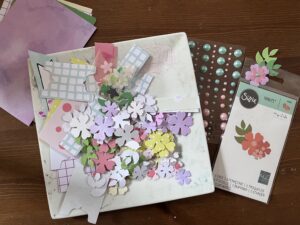
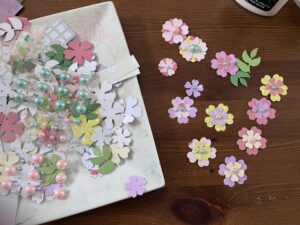
I created the paper flowers buy gluing different combination of colour petals to make the flowers really quirky and unique.
They turned out so cute !
I also cut out the leaves from two different colours of green to give it dimension.
Creating the Background
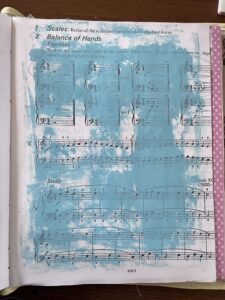
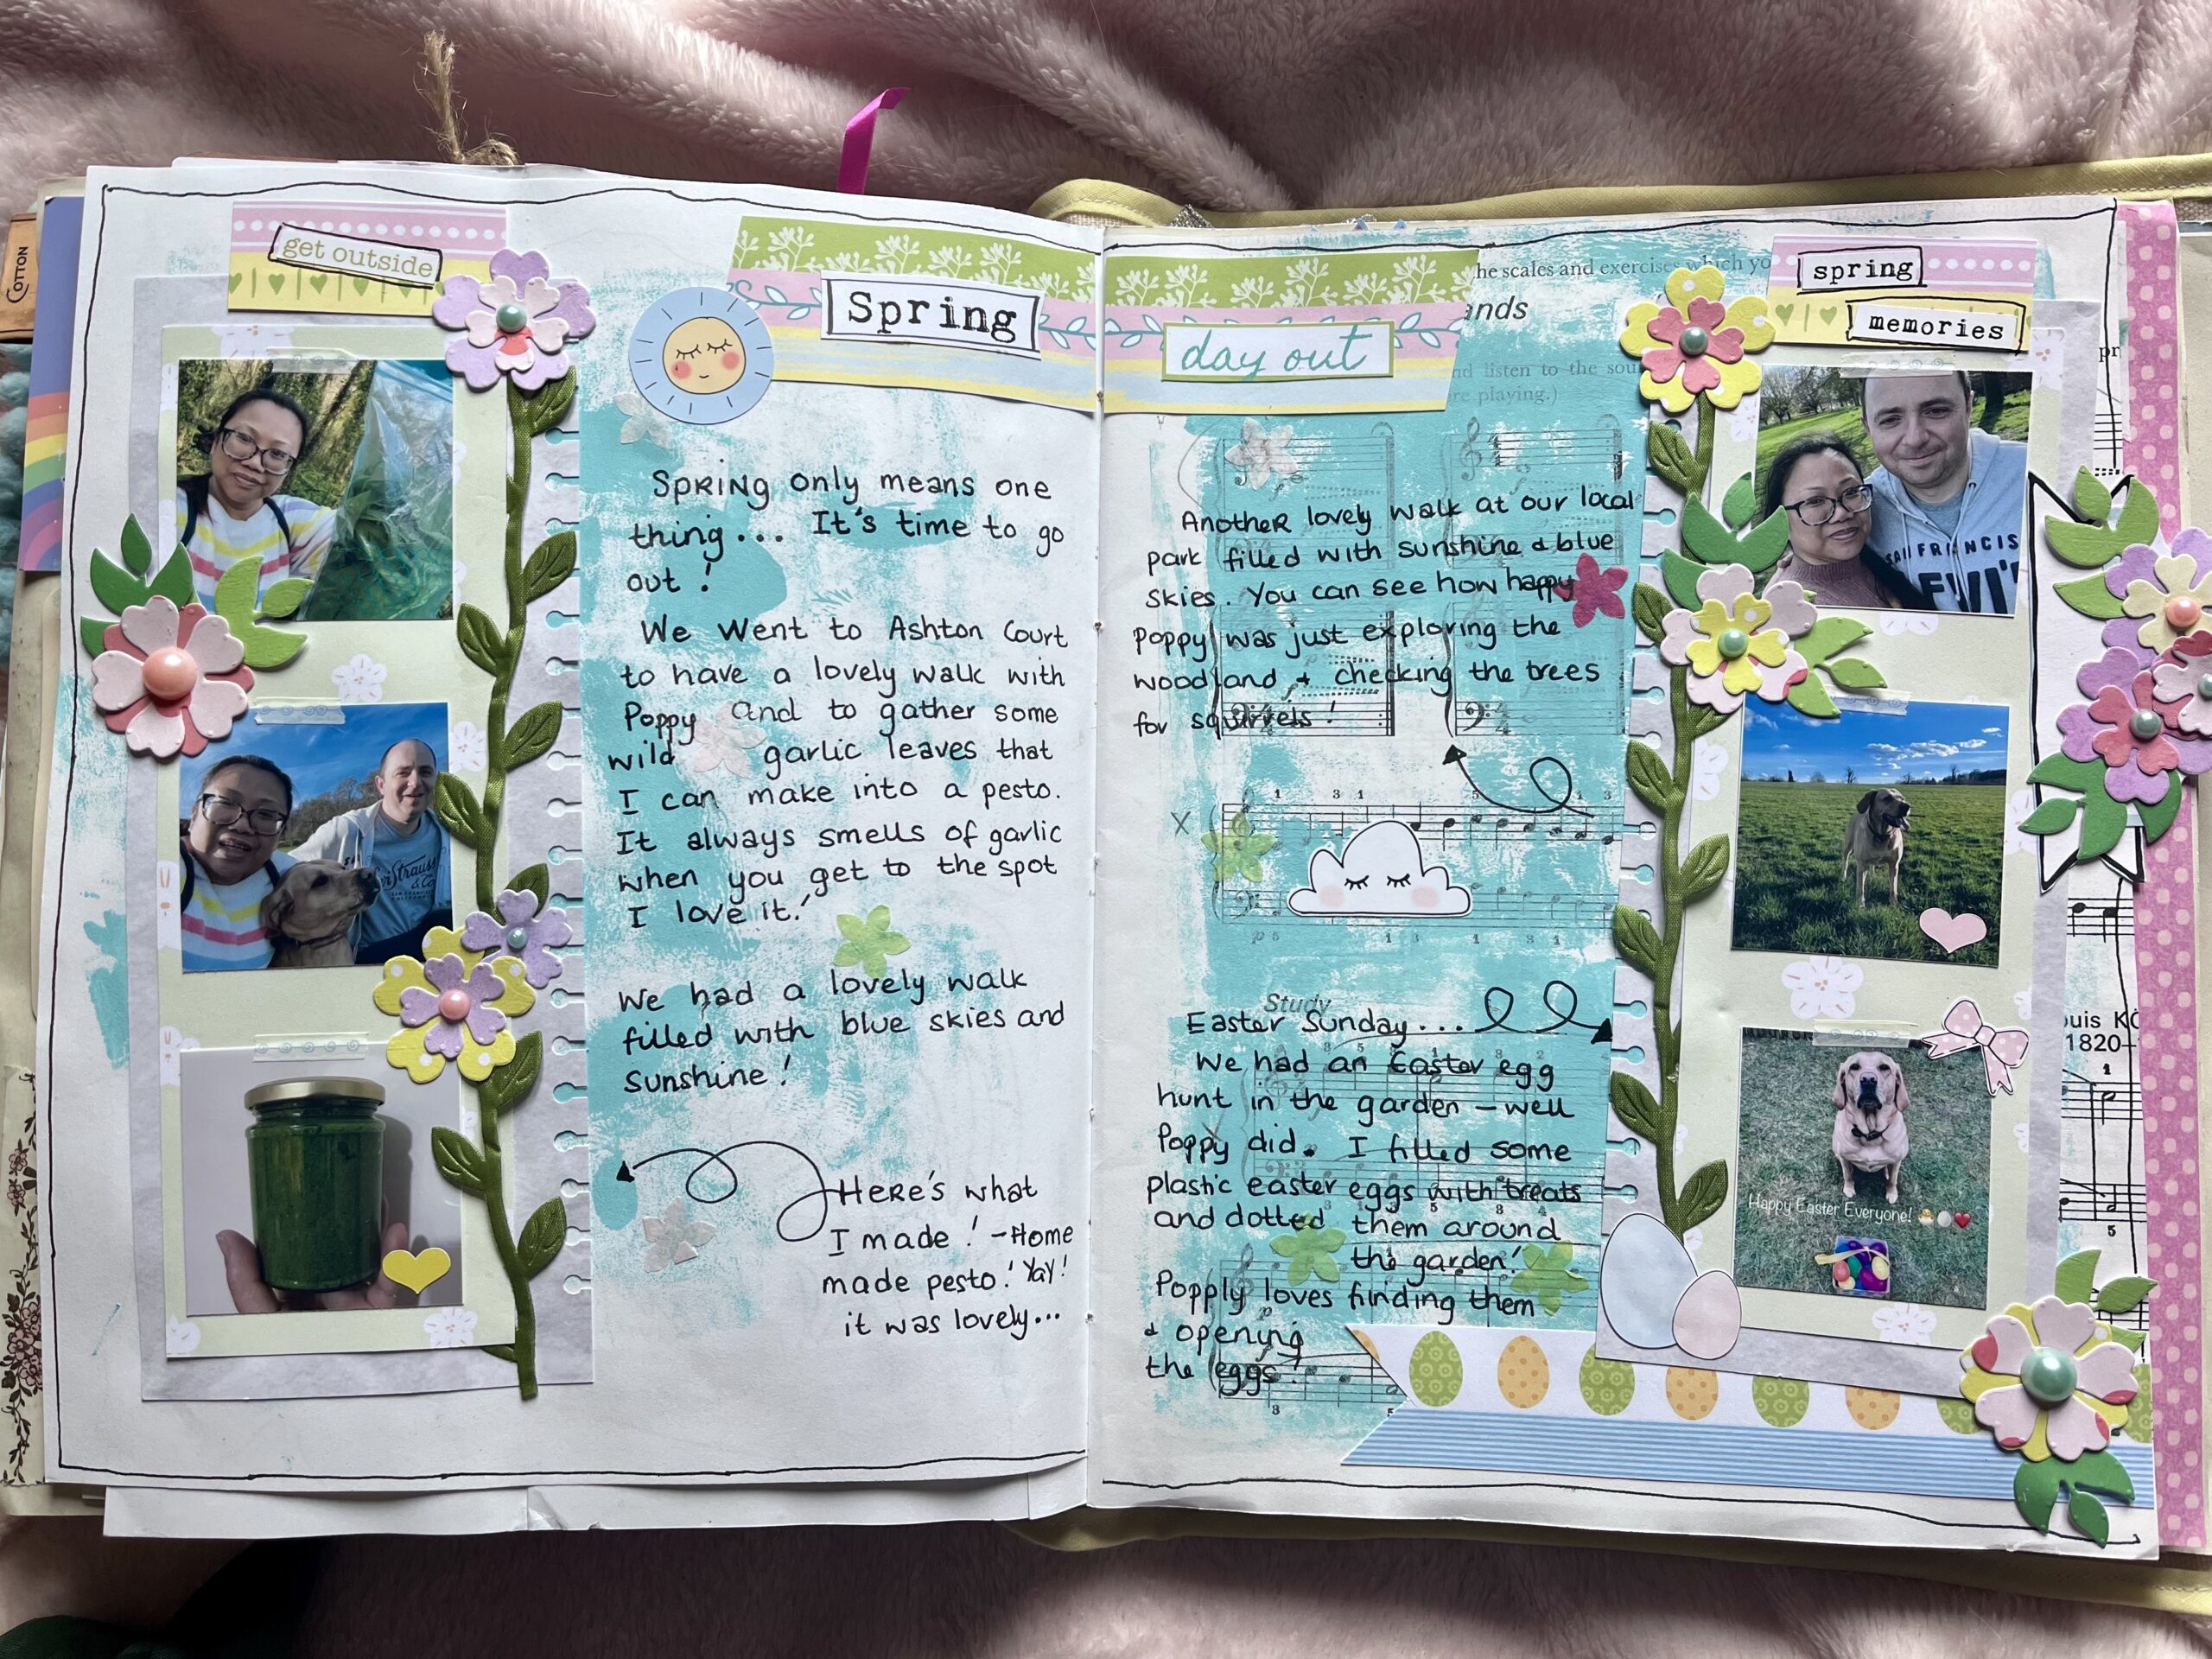
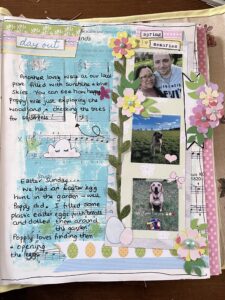
The photograph that I was using had beautiful blue skies , and I really want to reflect this on my layout. I used an acrylic paint and a brayer to spread the paint on to the paper.
I really didn’t think which direction I will spread the paint across , and it gave this very lovely blue background that I really want . As I used a brayer , the paint was spread thinly and you can still see the music print behind the colour which gave more character to the page.
Whilst I am waiting for the paint to dry , I started working on the other elements of my page.
The Photograph and other bits and bobs
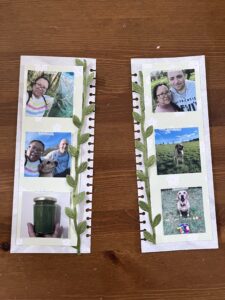
I wanted to create strips of photographs which I will place on each side of my journal page.
So , I printed my photographs using my photo printer and made them all the same size.
There are 2 papers in the kit that really spoke to me and used them to back up my photograph and create the strip look I want.
The mint green floral paper was so beautiful so I used this to create the strip. I also used the skinny wash tape and placed a bit on top of each photograph.
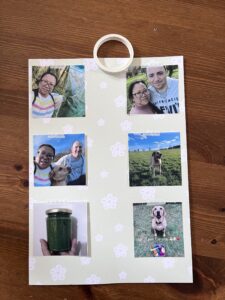
The strips were further glued to another paper in the kit ( Crumpled paper look) . The paper was again cut into two strips and punched the edges with a notebook edge look. As the photographs are showing outdoor activities , I decided to use the leaf vine trim that was also included in the kit and glued them to each side of the photo strip.
At this point I realised that I need this to be a double page layout. So I painted the other side of the page using the same paint and brayer technique.
Before putting the photo strips in place , I used the cut apart strips form the kit and used them to decorate the top and bottom of the pages.
Next , I glued the photo strips on each side of my journal page. I also used a bit of the strip to use as a sort of tab on top of the photo strips.
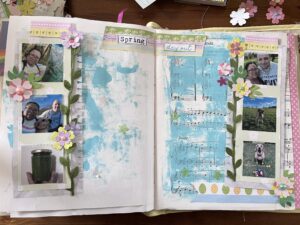
Finishing the Page
This is where the paper flowers that I have created comes into play .
I glued them on a couple of the photo corners and even added them on top of the vine leaf trim.
I also glued some tissue paper flowers in the middle of the page , but to be honest this did n to really give anything much to the page . So , I ended up only gluing a few in the end.
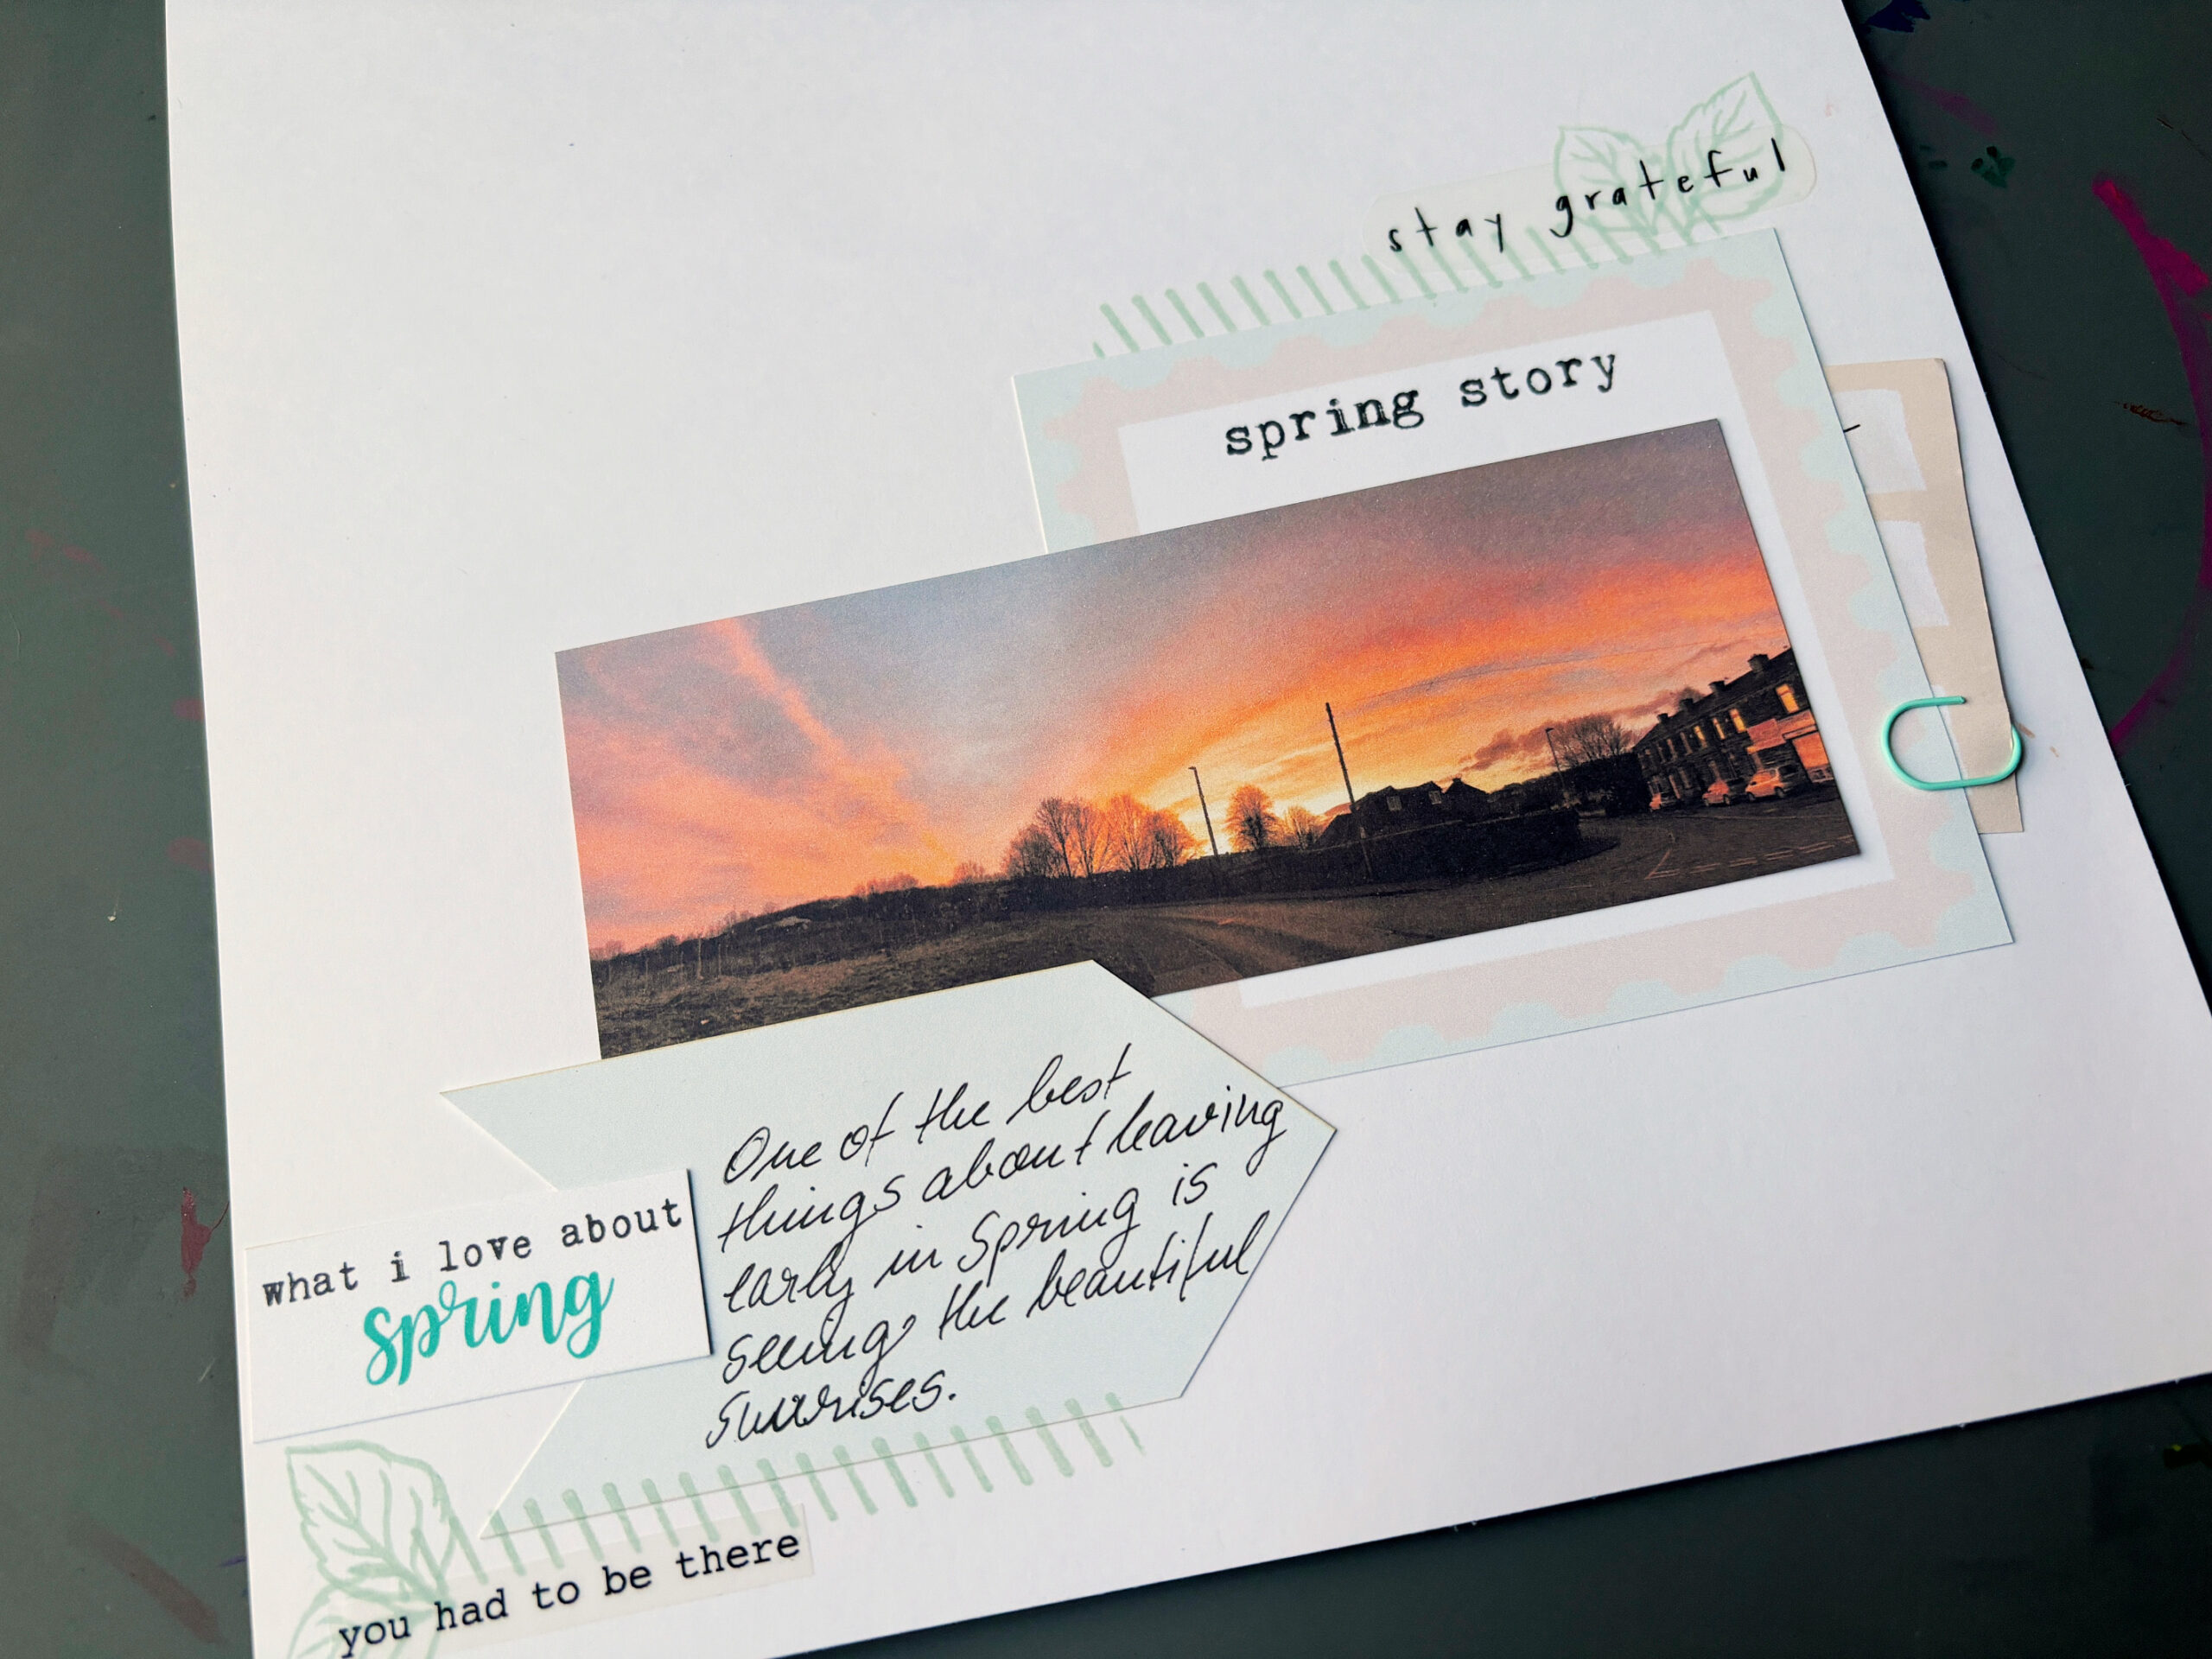
I then wrote my journaling in the middle of the page.
To finish the page , I did a doodled border on the page and titles at the top of the strips.
I also used some of the stickers to decorate the page.
I love how this turned out and I am so glad that I have now documented out springtime memories form last year . I am so looking forward for Spring to finally come – all the blue skies and warm weather !
What are you looking forward for spring ? Do you have a spring activity list ?
I would really love to know , so please share them in the the Facebook group.
Lots of crafty hugs …
X
Sheryll

Leave A Comment