Christmas has been and I don’t know about you, but I have taken so many photos again. Mostly on my phone this year.
I wan’t to have at least a couple of pages in my 2015 album, but I often find it really hard to choose which photos to include as there are so many. So today I am sharing with you how I manage to include a few photos on the one page and yet still manage to keep a design and have room to journal too.
I’m starting by documenting about my tree. We love our tree. It’s such an important part of Christmas to us. It has to be real. We take a morning off work to go to the same place each year to pick it. So I always have lots of photos of our special tree.
I am using the December kit on this page today.
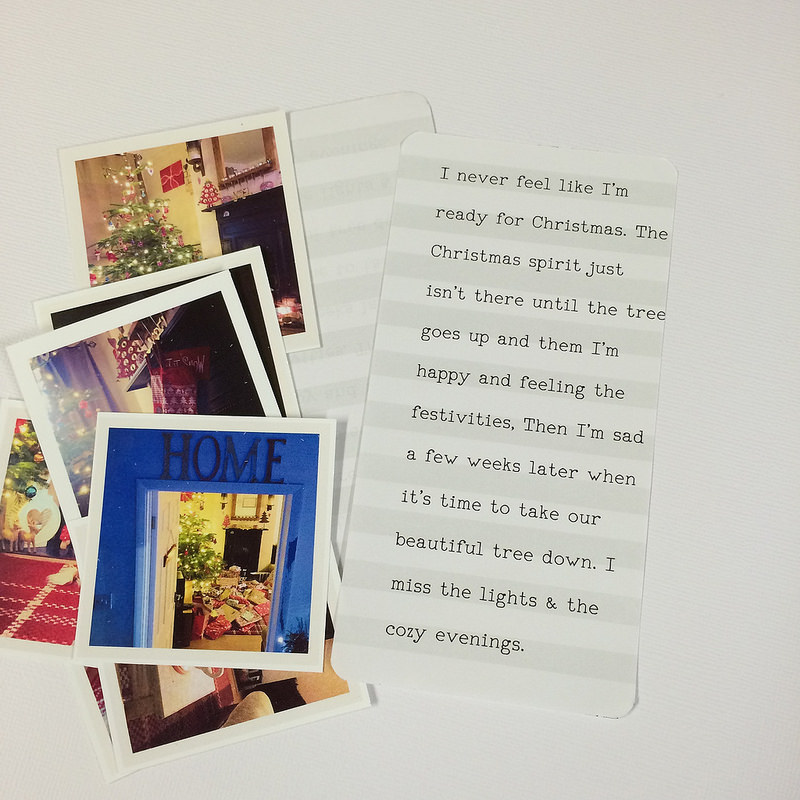
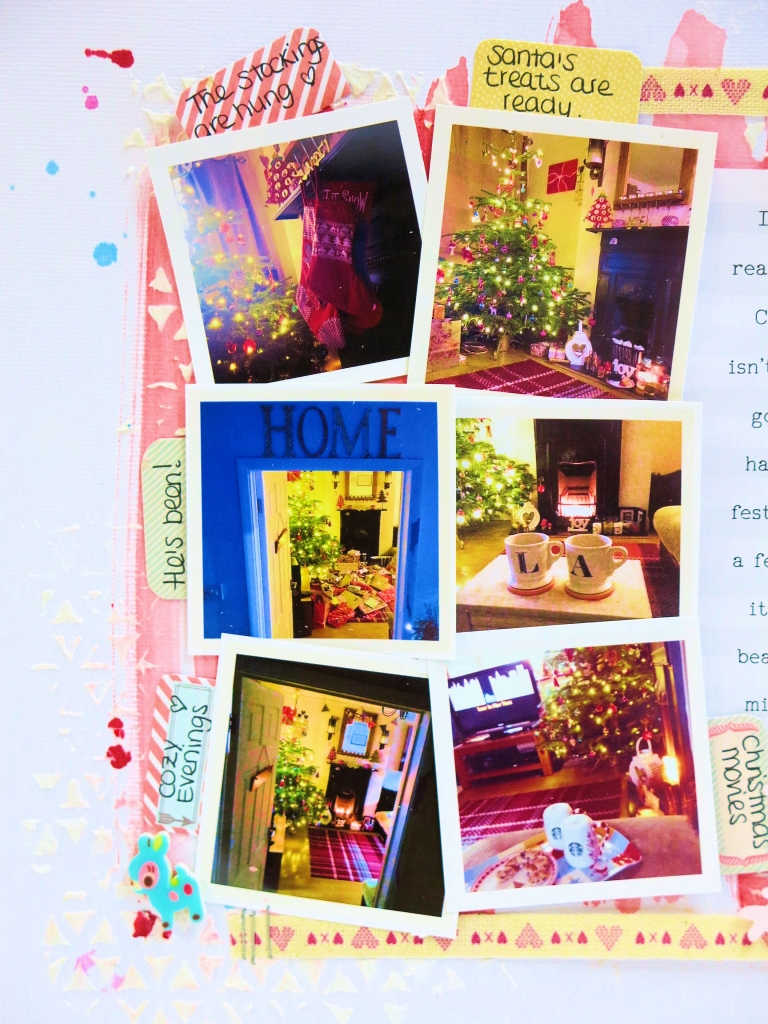
I’ve printed off 7 little photos. Each of them measures 2.5 inches square. I also print them with a border. When you are scrapbooking with a few photos, I think it looks so much neater to have a good thick white border on your photos. It helps each one to stand out, otherwise they just blend in to one another, especially if like these photos here are all of the same subject. They look pretty similar. If you struggle to print with a border, just stick on to white card or paper and trim to create a white frame. It will look equally good.
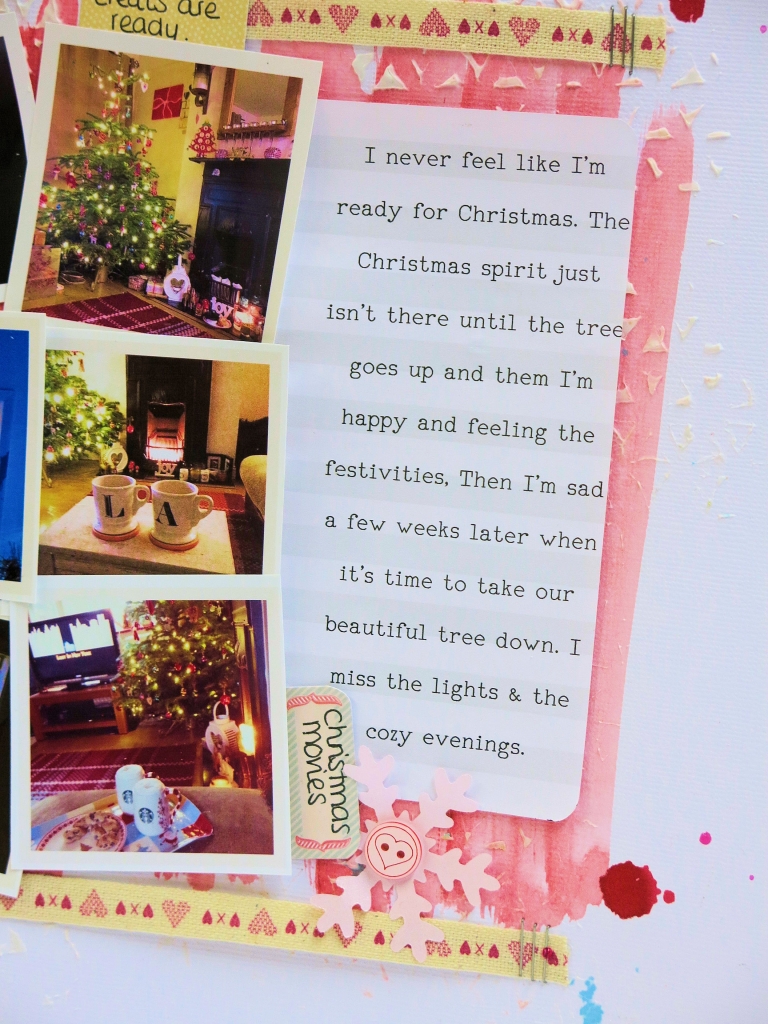
I took the striped note paper from the kit and popped it in to my printer. I didn’t fuss about lining it up correctly. I like the randomness of the printing.
Photos and journaling sorted!!
My background next.
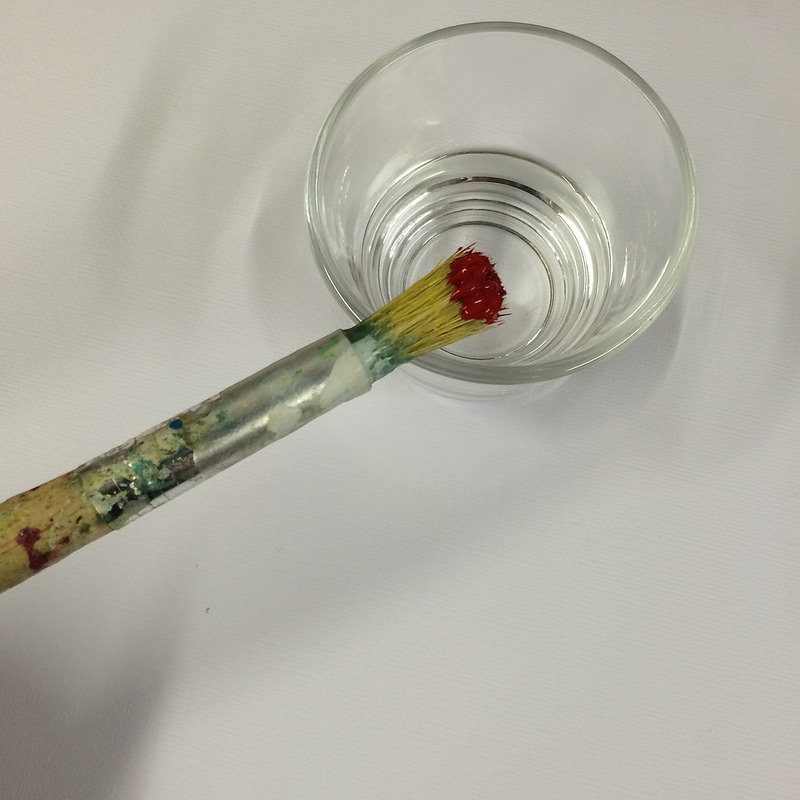
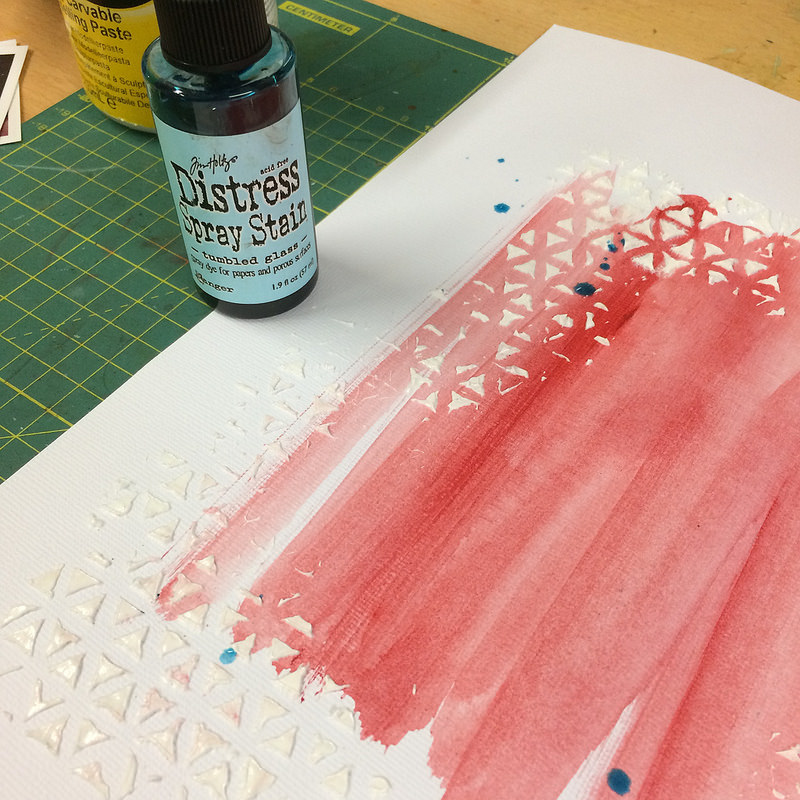
I’ve used a 12×12 white piece of card and I’m going to use a teeny bit of red acrylic paint. Literally what you see on the end of the paintbrush there is all that I’ve used. I like to use little glass tea light holder for the water when I paint. I dip in to the water before I start to paint.
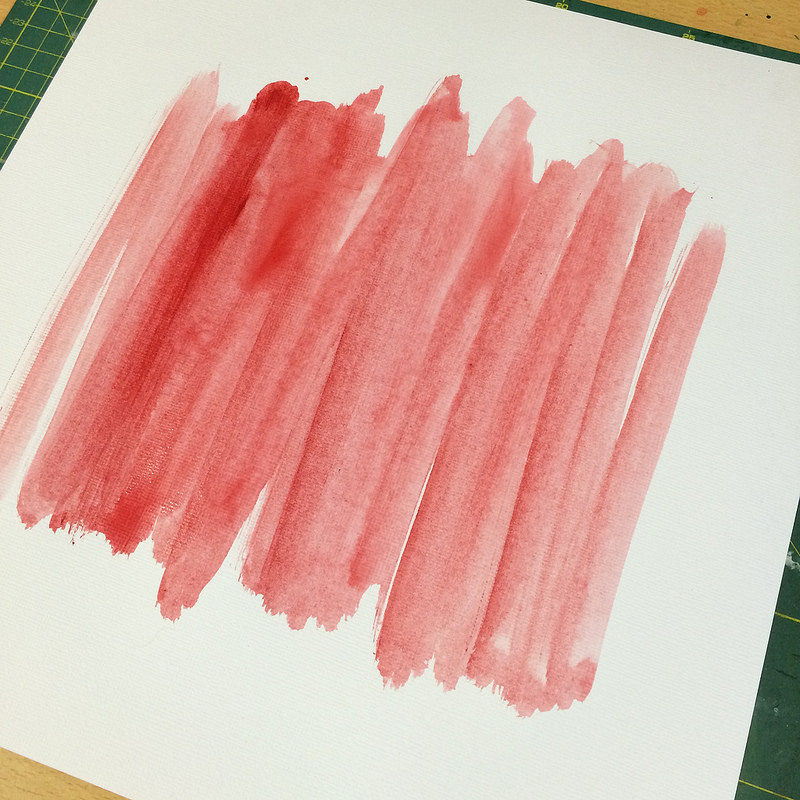
I brush up and down the page to create some clean strokes. I don’t add any more paint, I just simply dip back in to the water and take any extra paint from the first paint stroke that I made on the page. I don’t want the paint to appear too thick.
I then use a heat gun to dry.
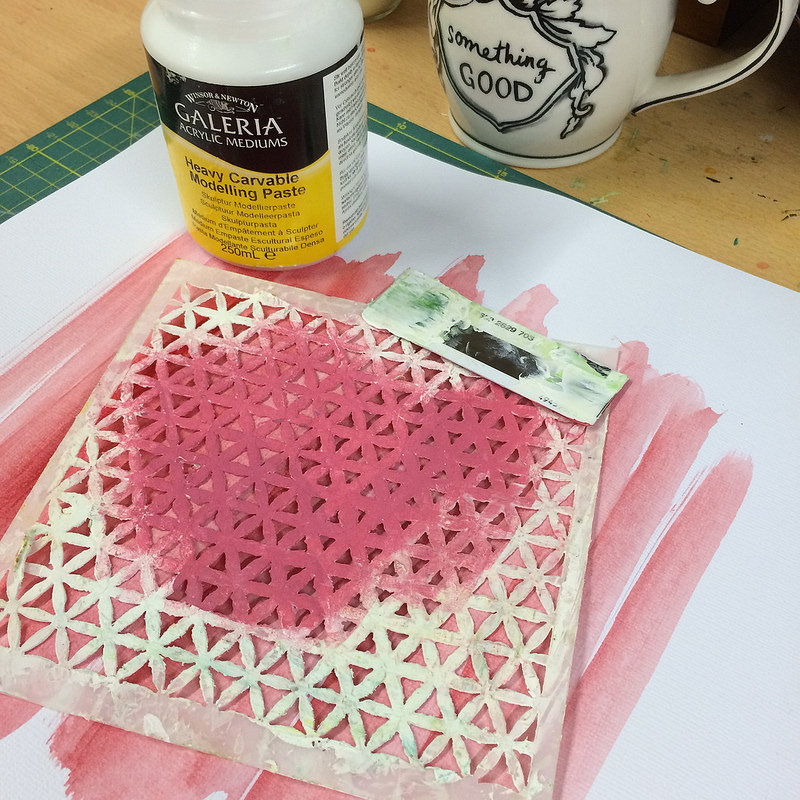
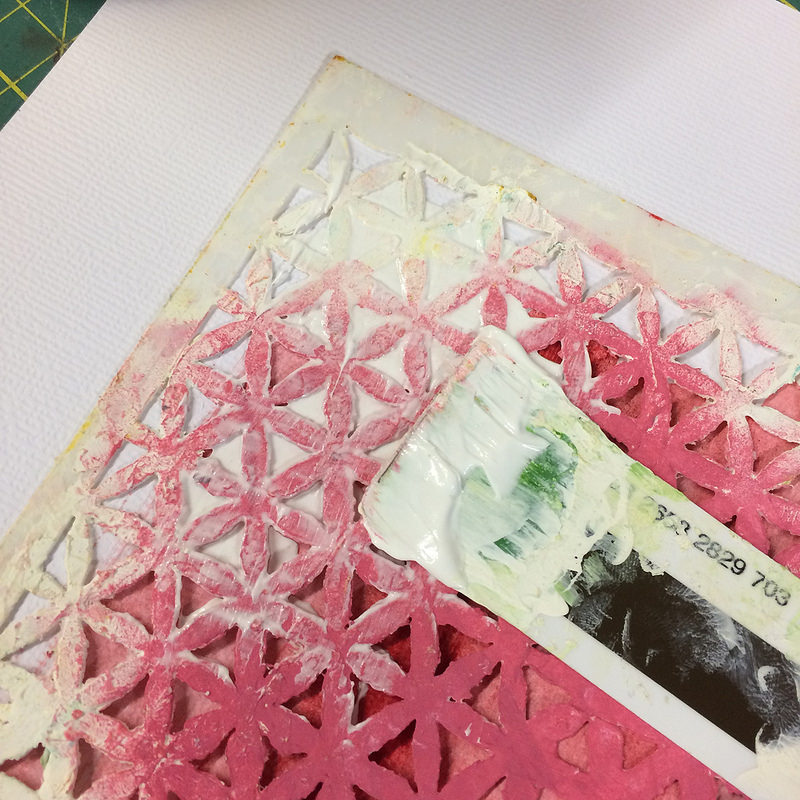
Once dry, it’s time to add a little texture. I have a 6×6 stencil and some modelling paste. Although I do have palette knives, I prefer to use an old credit card to apply.
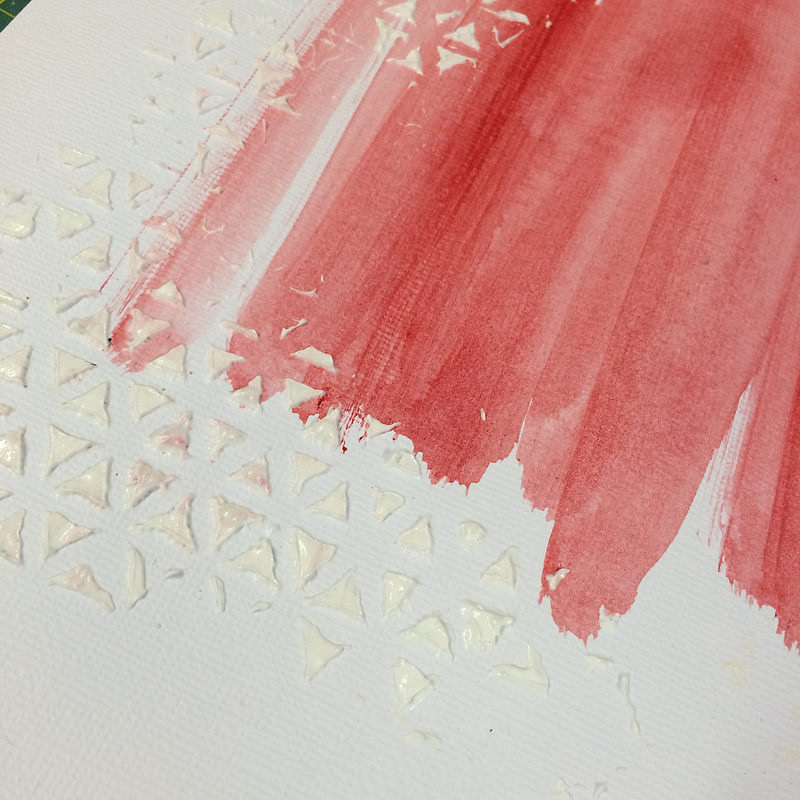
Holding the stencil in place I spread through the paste to create some great texture and move the stencil around the page.
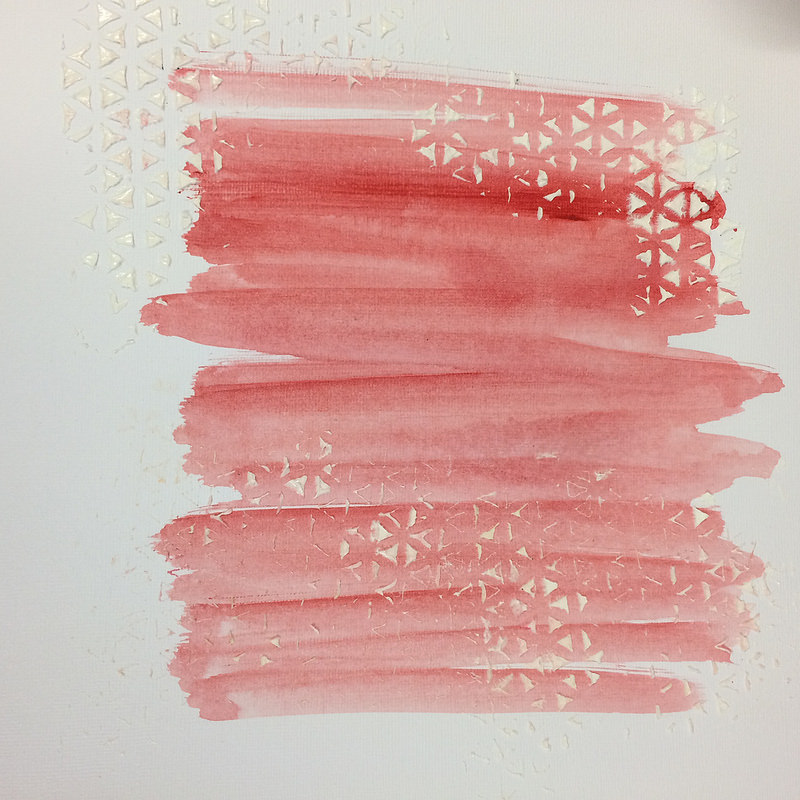
I love the patterns this creates.
There’s no need to stencil over the whole page as most of it will be covered with your photos.
Before drying off, I’ve added a few drops of blue ink.
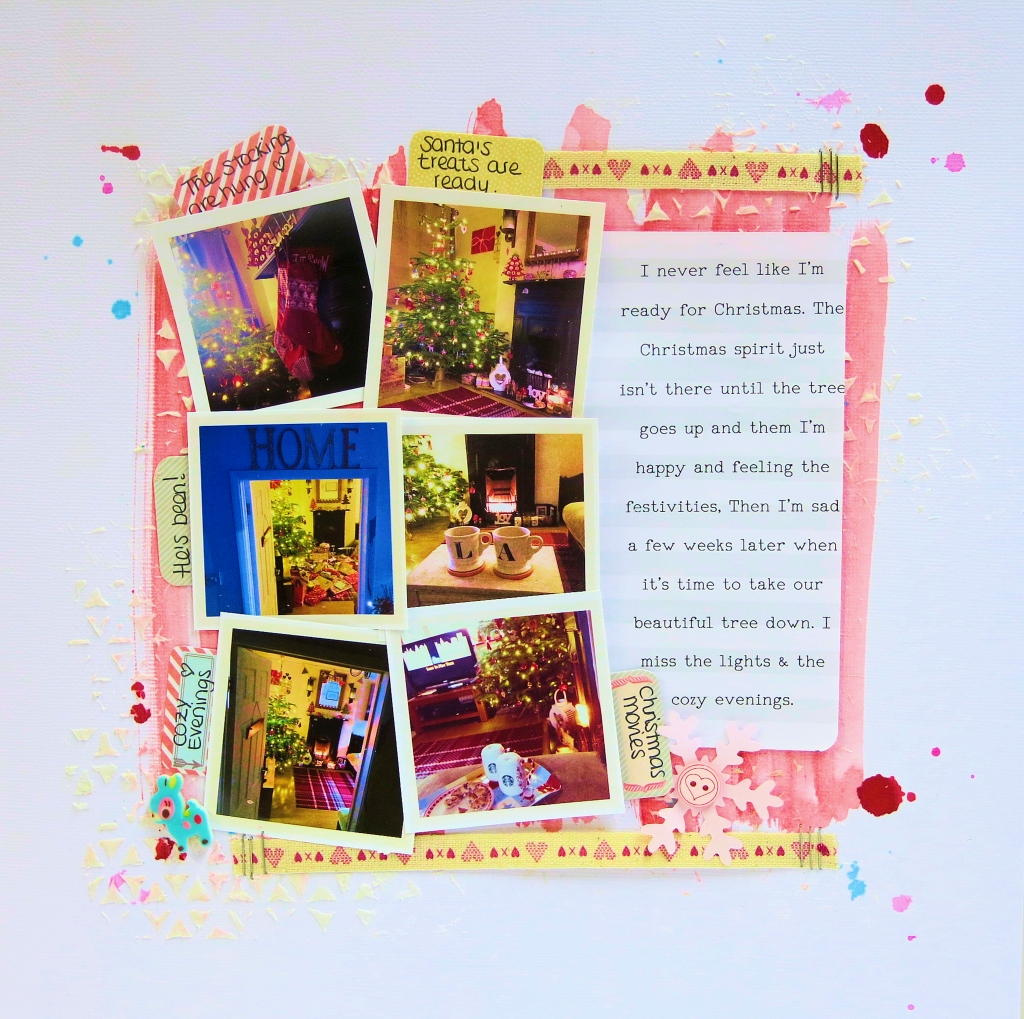
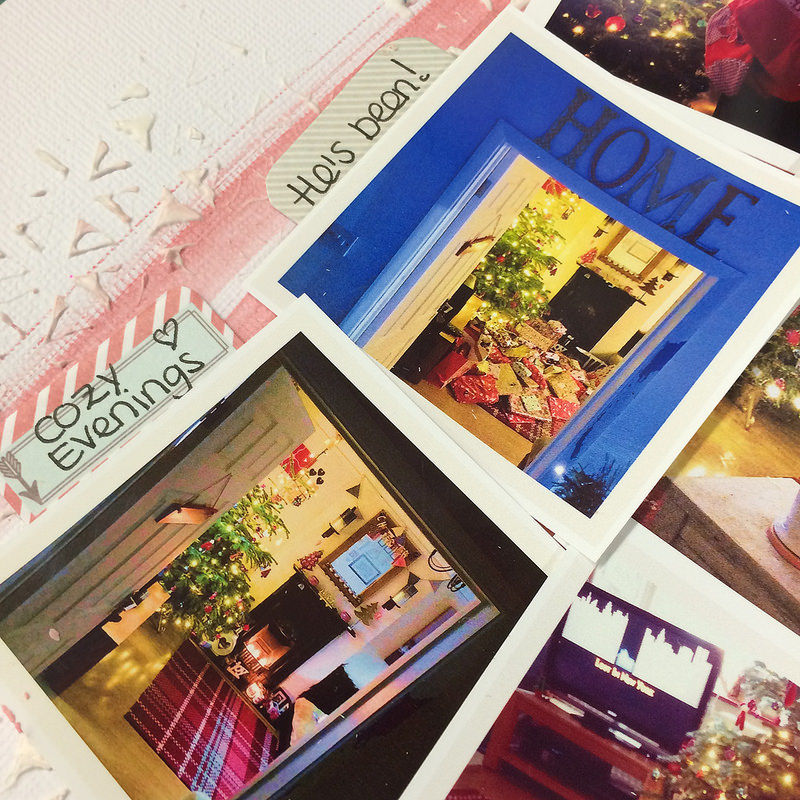
I’ve stuck my journal note and my photos in place. I ended up just using 6 of the photos. I stuck them down with double sided sticky by just adding a little in the centre of each one.
This way I’m able to move them around until I am happy with how it looks.
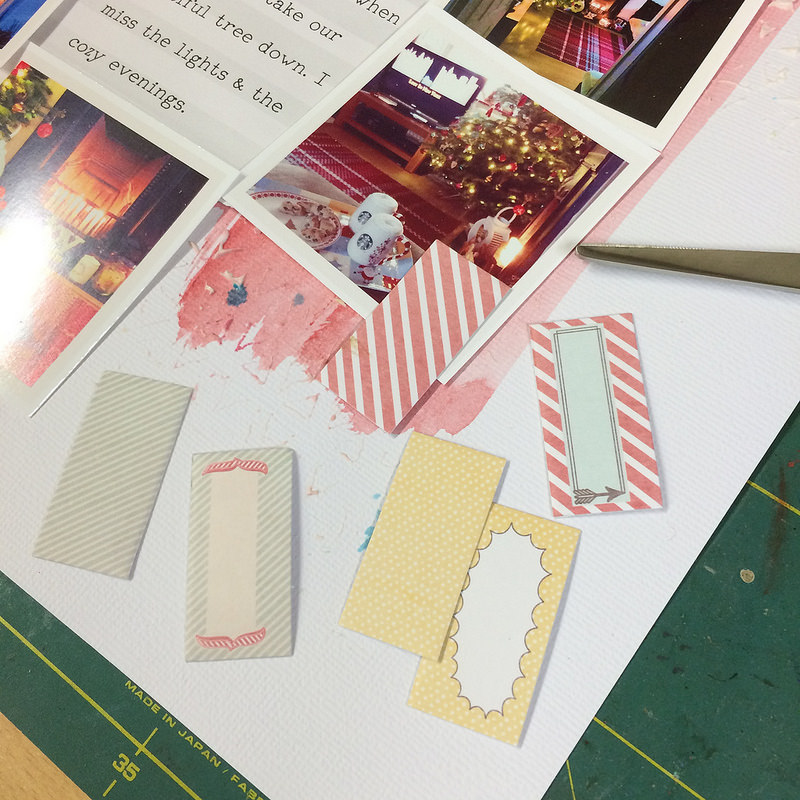
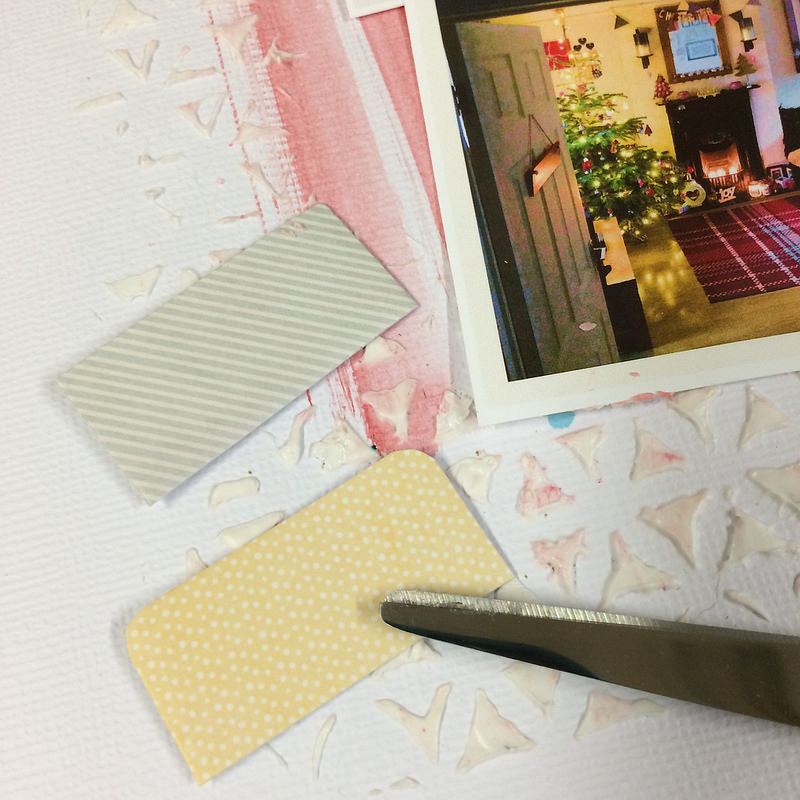
I now take the Smash tabs from the kit. I’ve cut them in half giving me 6 pieces and rounded the corners with scissors creating small tabs.
I’ve then journaled on each one and slotted under the photos.
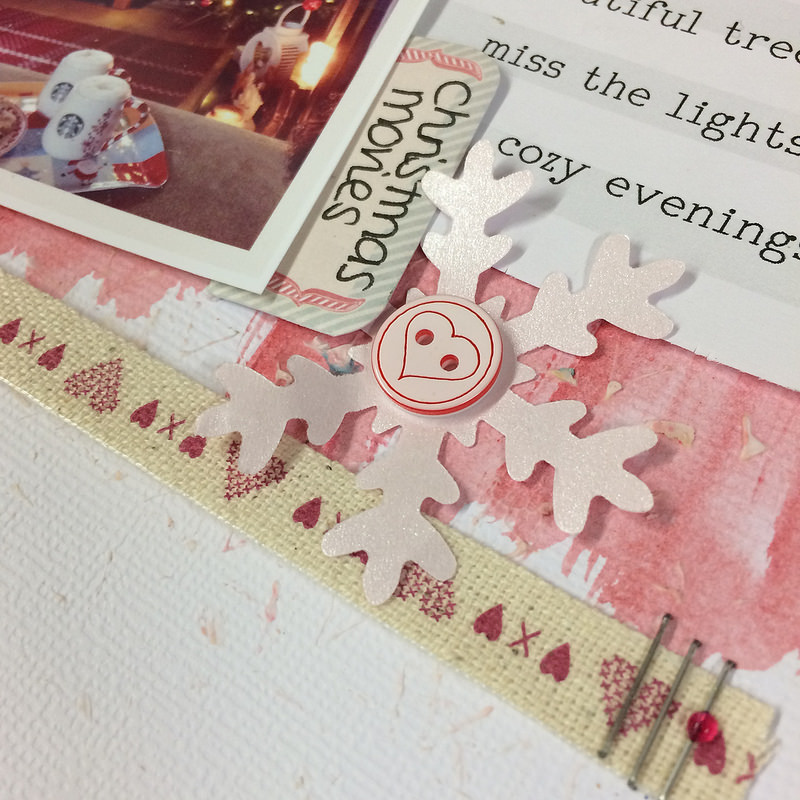
I’ve taken the ribbon from the kit next and my long armed stapler. I love this piece of office equipment. I use it so much when I scrapbook. I love that it can reach to any part of my page.
The LO is almost finished now, a few more splashes of ink to add a little more colour and I’ve also added a few embellishments from the kit. A cute deer, the snowflake and I’ve taken one of the paperclip buttons too.
That’s it!! My multi photo page is now finished.
Lots of photos….
Journaling….
But still keeping a pretty design.
If you want to join in and talk Lollipop Kits, share photos and tips on how you have used your’s or chat scrapbooking, crafts and planning in general, then join us here in our private chat group.
Enjoy your scrapbooking x


Leave A Comment