Skip to content
Say it with a Card!!
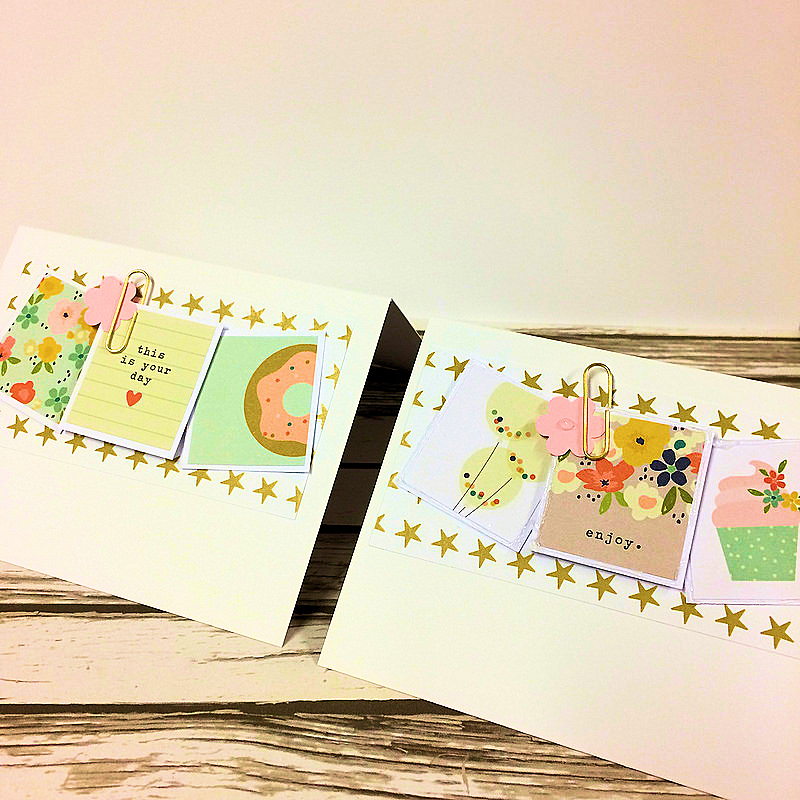
I have some quick cards to share today that I’ve made using the January Kit.
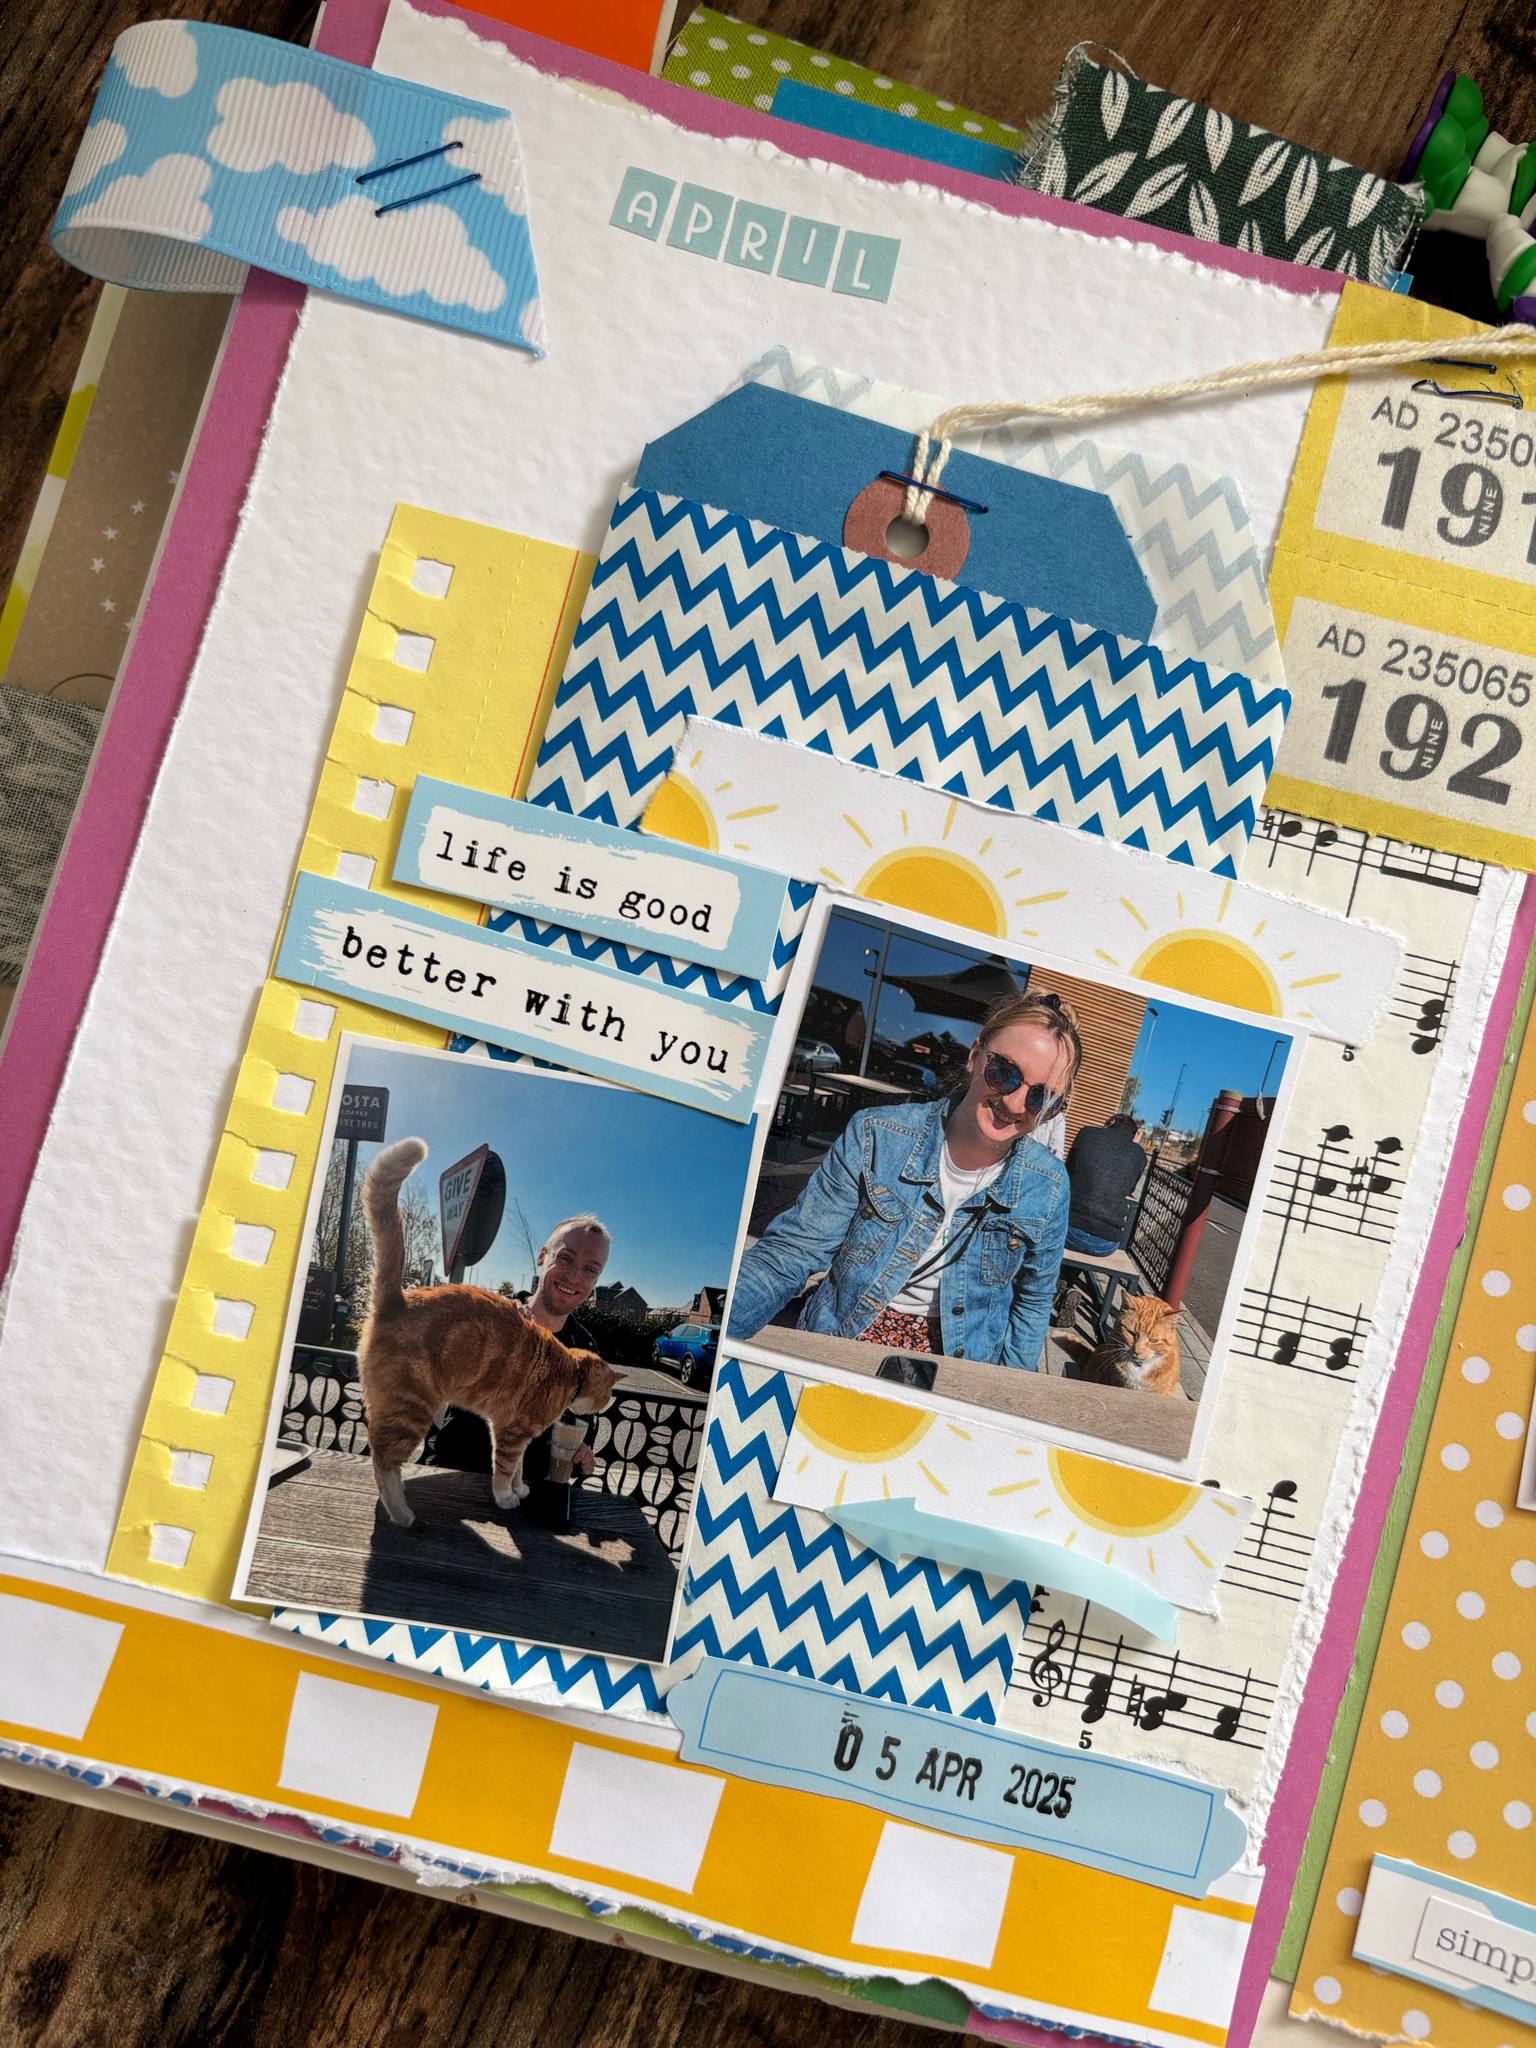
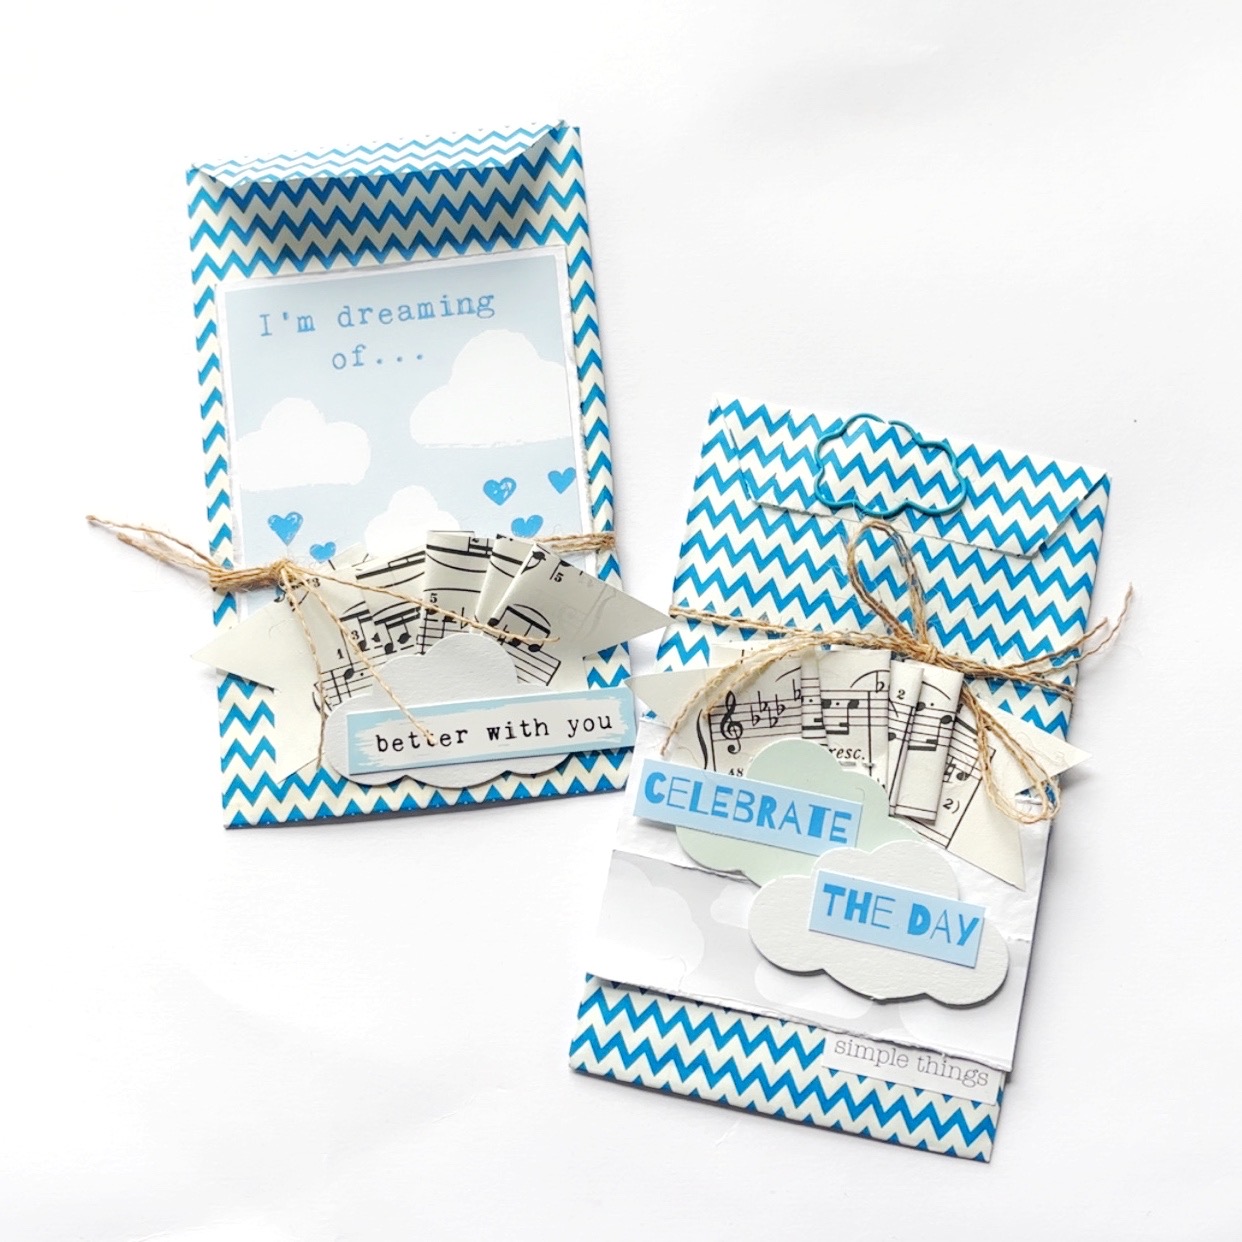
These are little 4×3” cards. I think this is my favourite size to make. Sometimes I feel I struggle a little to fill a whole big card with a design and it looks ’empty’. I like this size and they feel effortless to make.
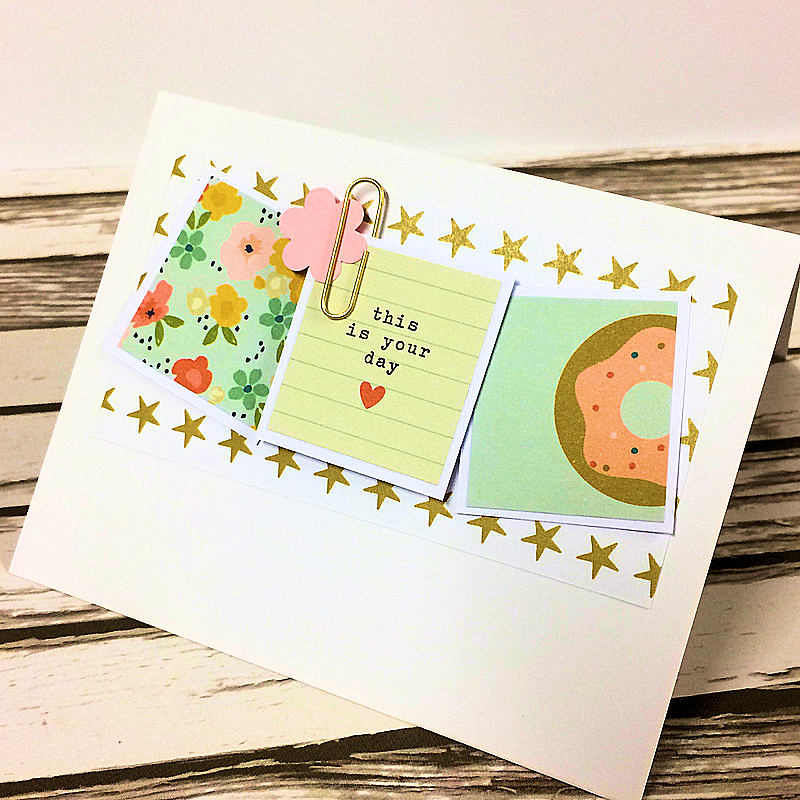
I stuck a strip of the star paper from the kit at the top in the centre and added 3 stickers from the kit. I stuck the stickers to white card first and then trimmed down creating a border around the stickers. I think this adds a good finish. It also enables me to layer them up. The centre sticker is stuck in place with a foam sticky pad to give it a little height.
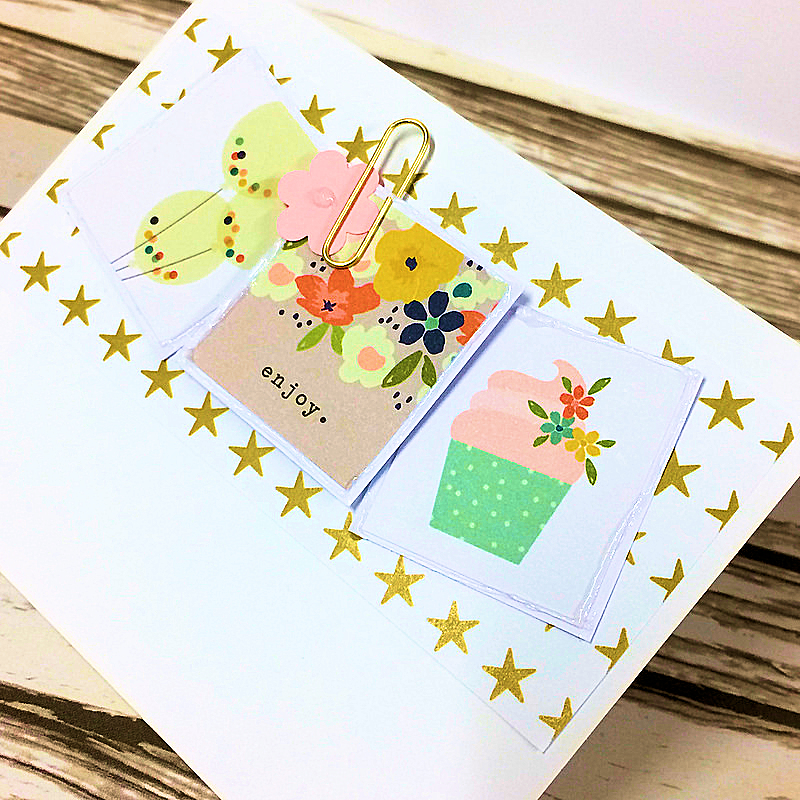
I also added a gold paper clip from the kit and a little glitter glue. You could also print off a greeting to add below.
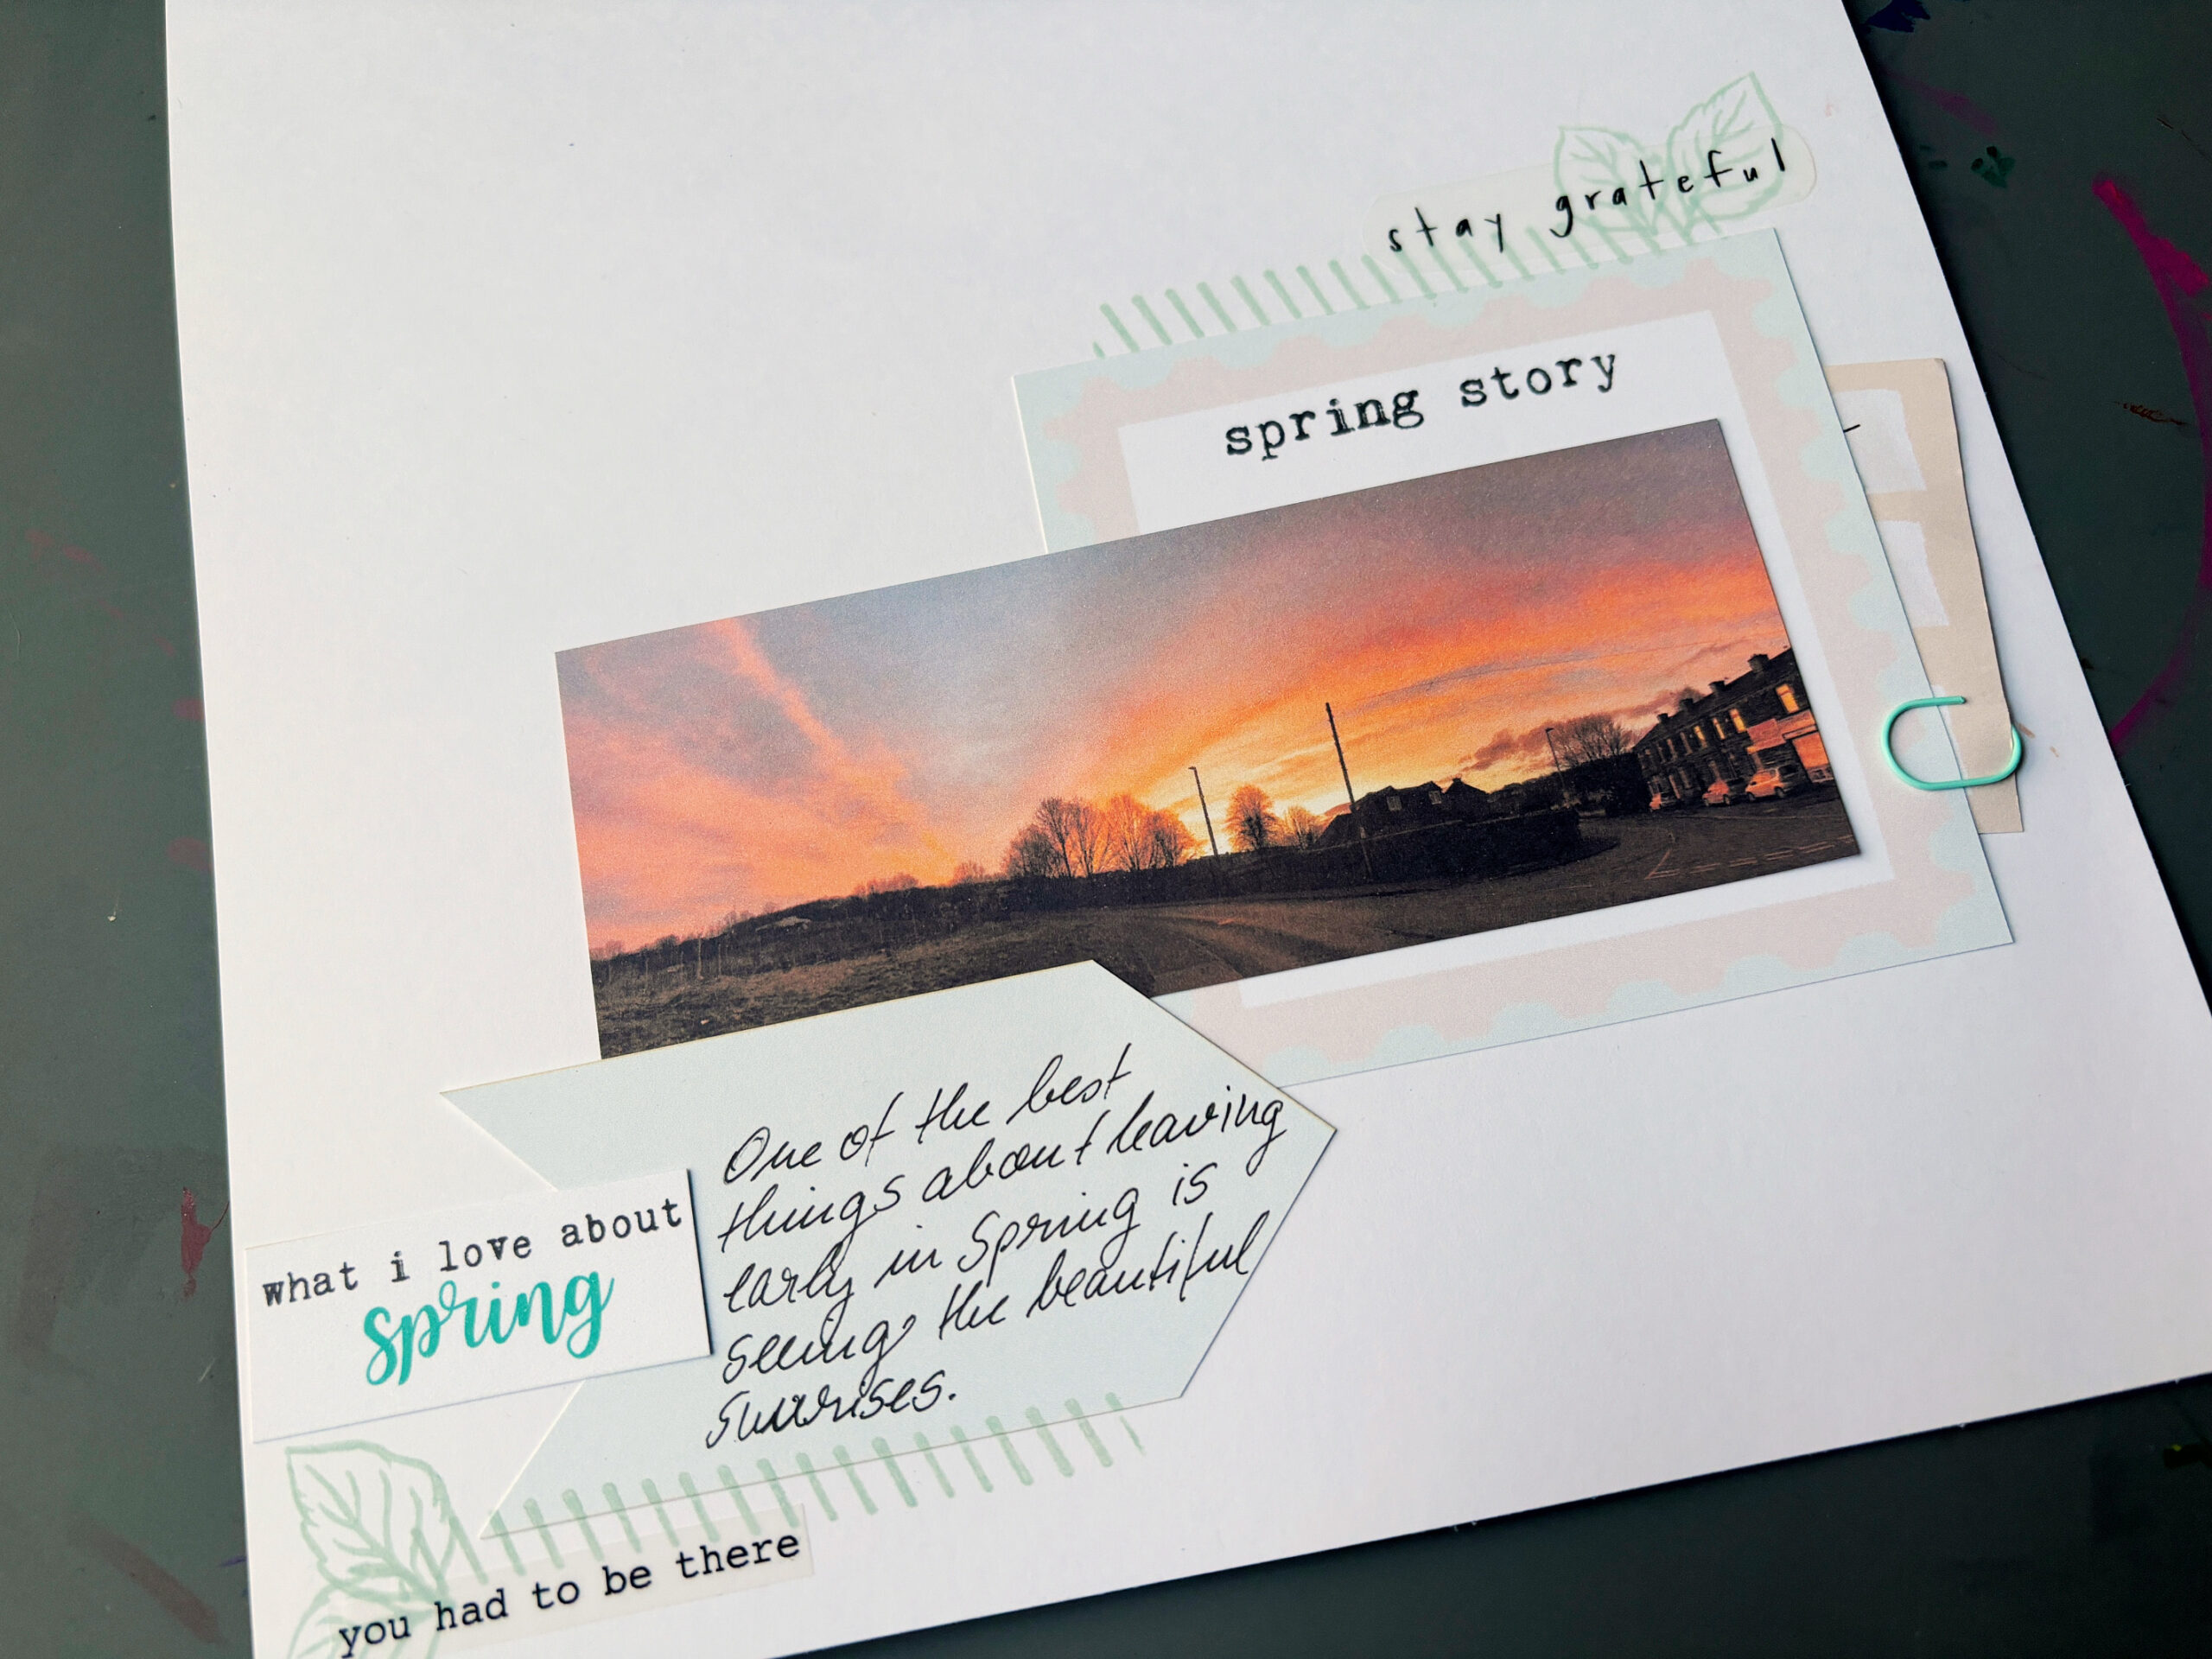
You could also use the design of the 3 stickers on a scrapbooking page to embellish. It would look really good beneath a photo.
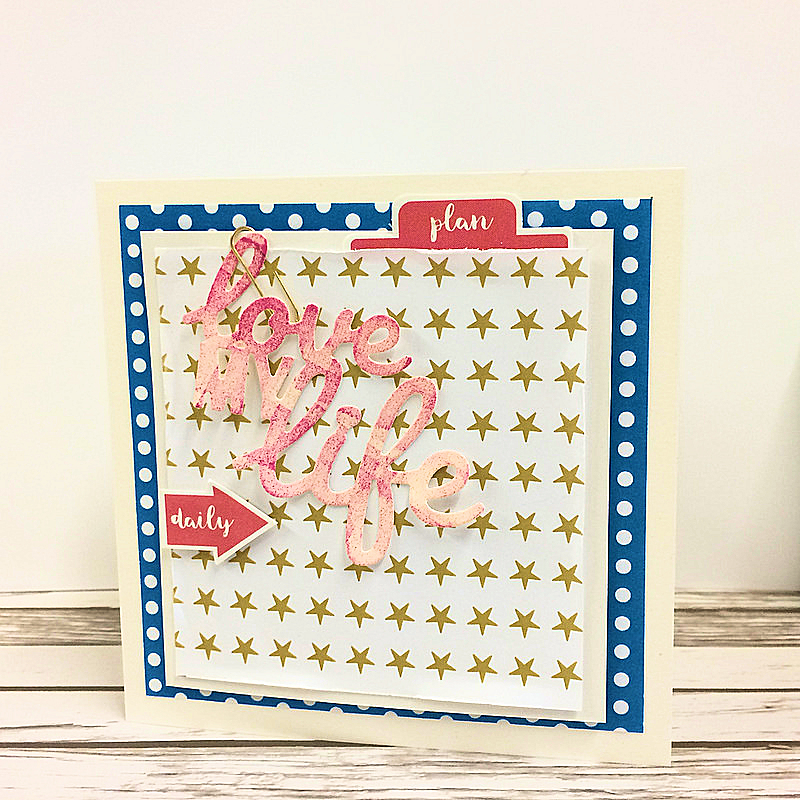
I also created this square card using the papers from the kit again. I also added a couple of the pieces that I cut from the embellishment post card. The ‘love my life’ also came in the kit. I pressed a small pink ink pad over it to give it a pink effect.
I hope you are having fun with your January Kits.
Have a great weekend xx
Share This Story, Choose Your Platform!

Leave A Comment