Miniature Layout Scrap-therapy By Emma @ProjectSparkle
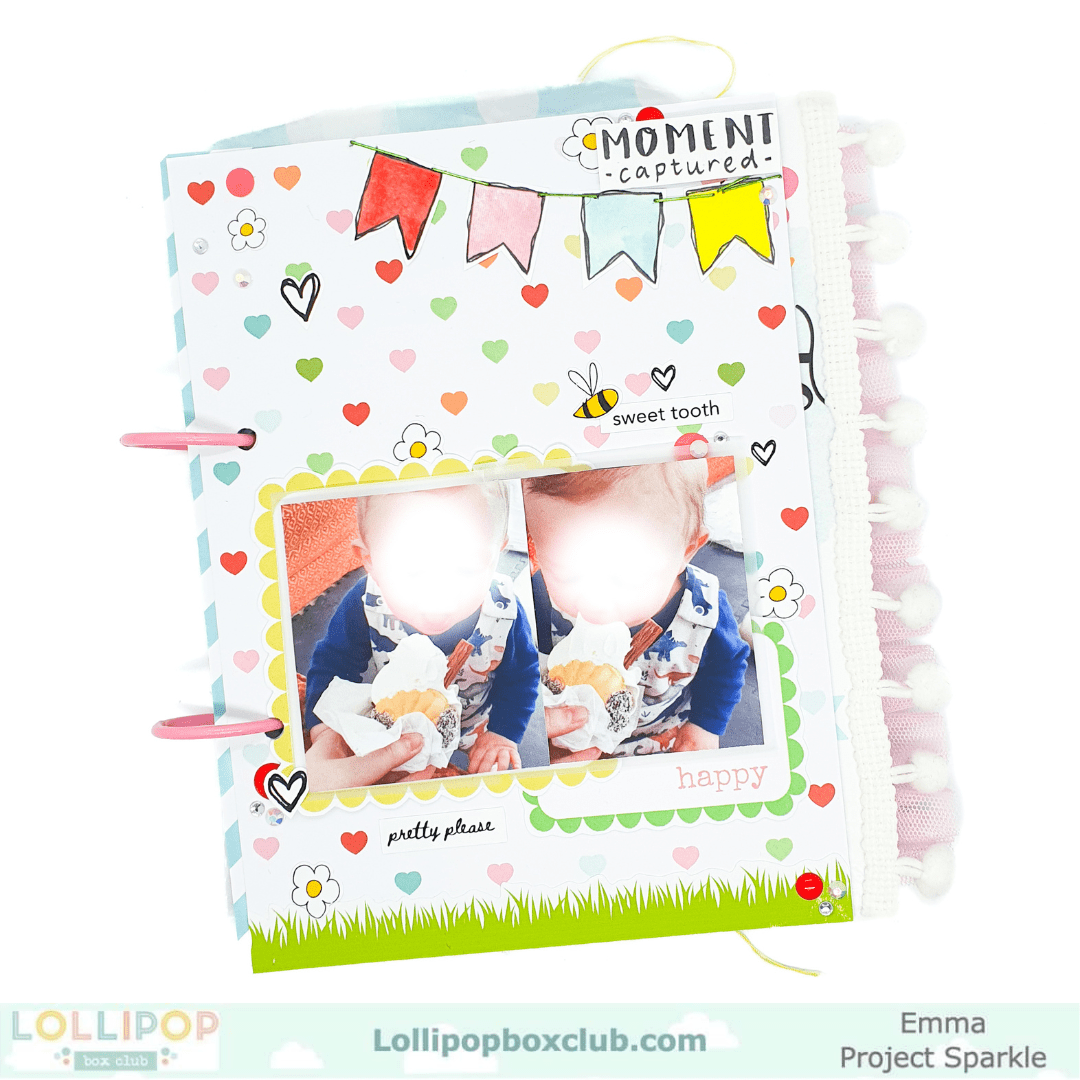
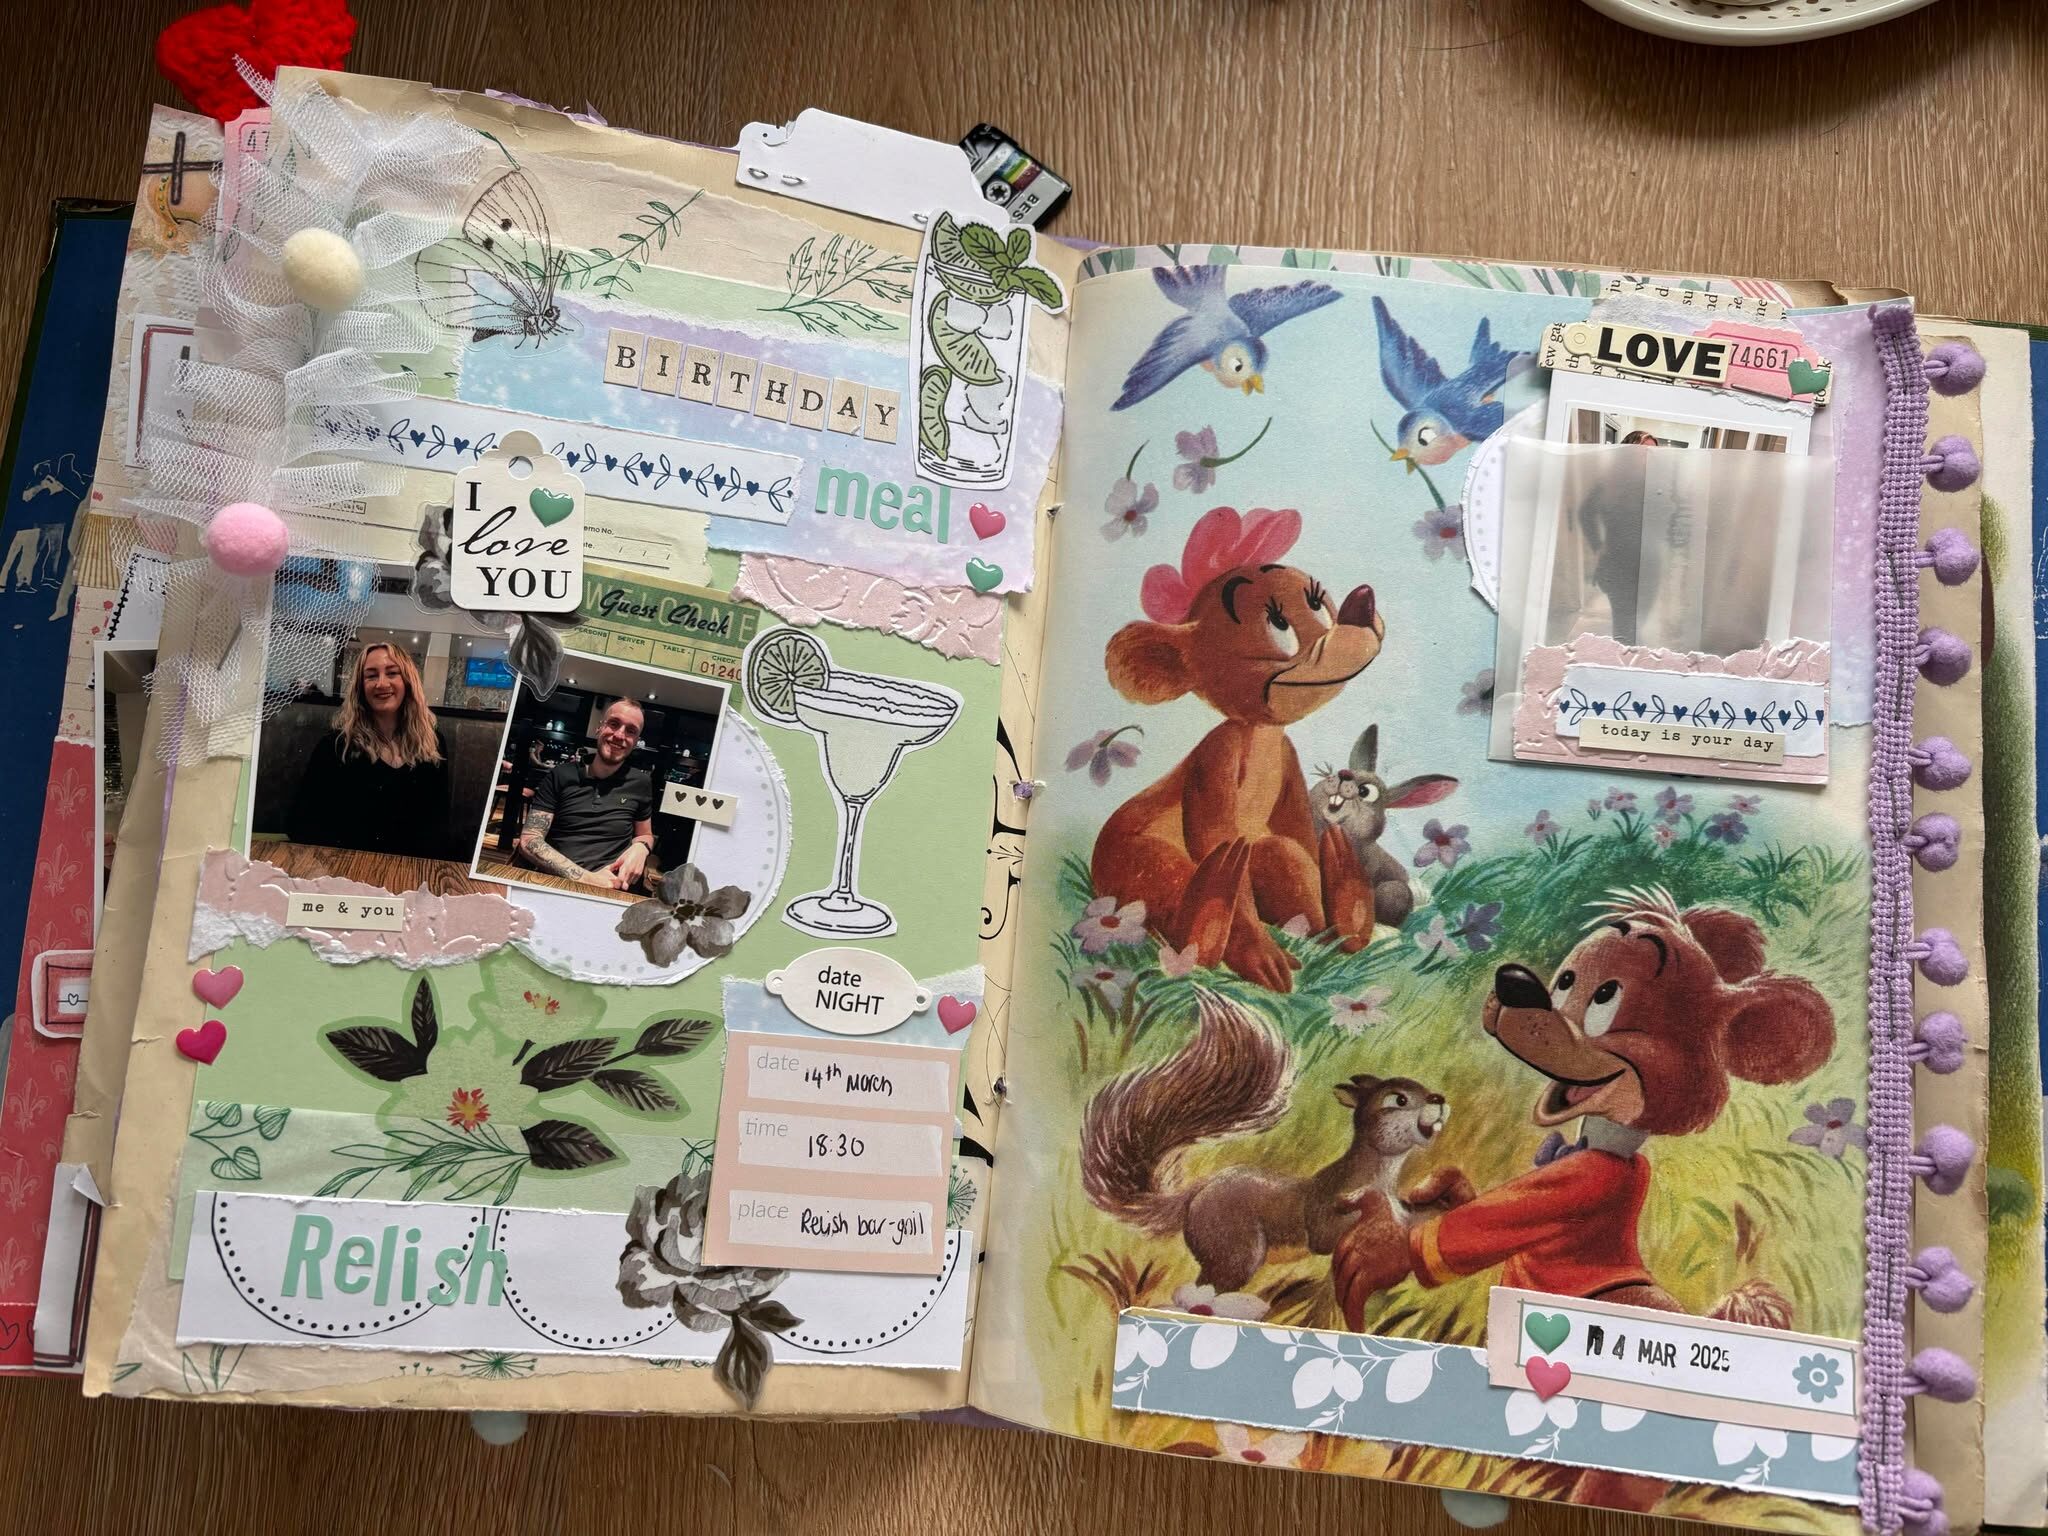
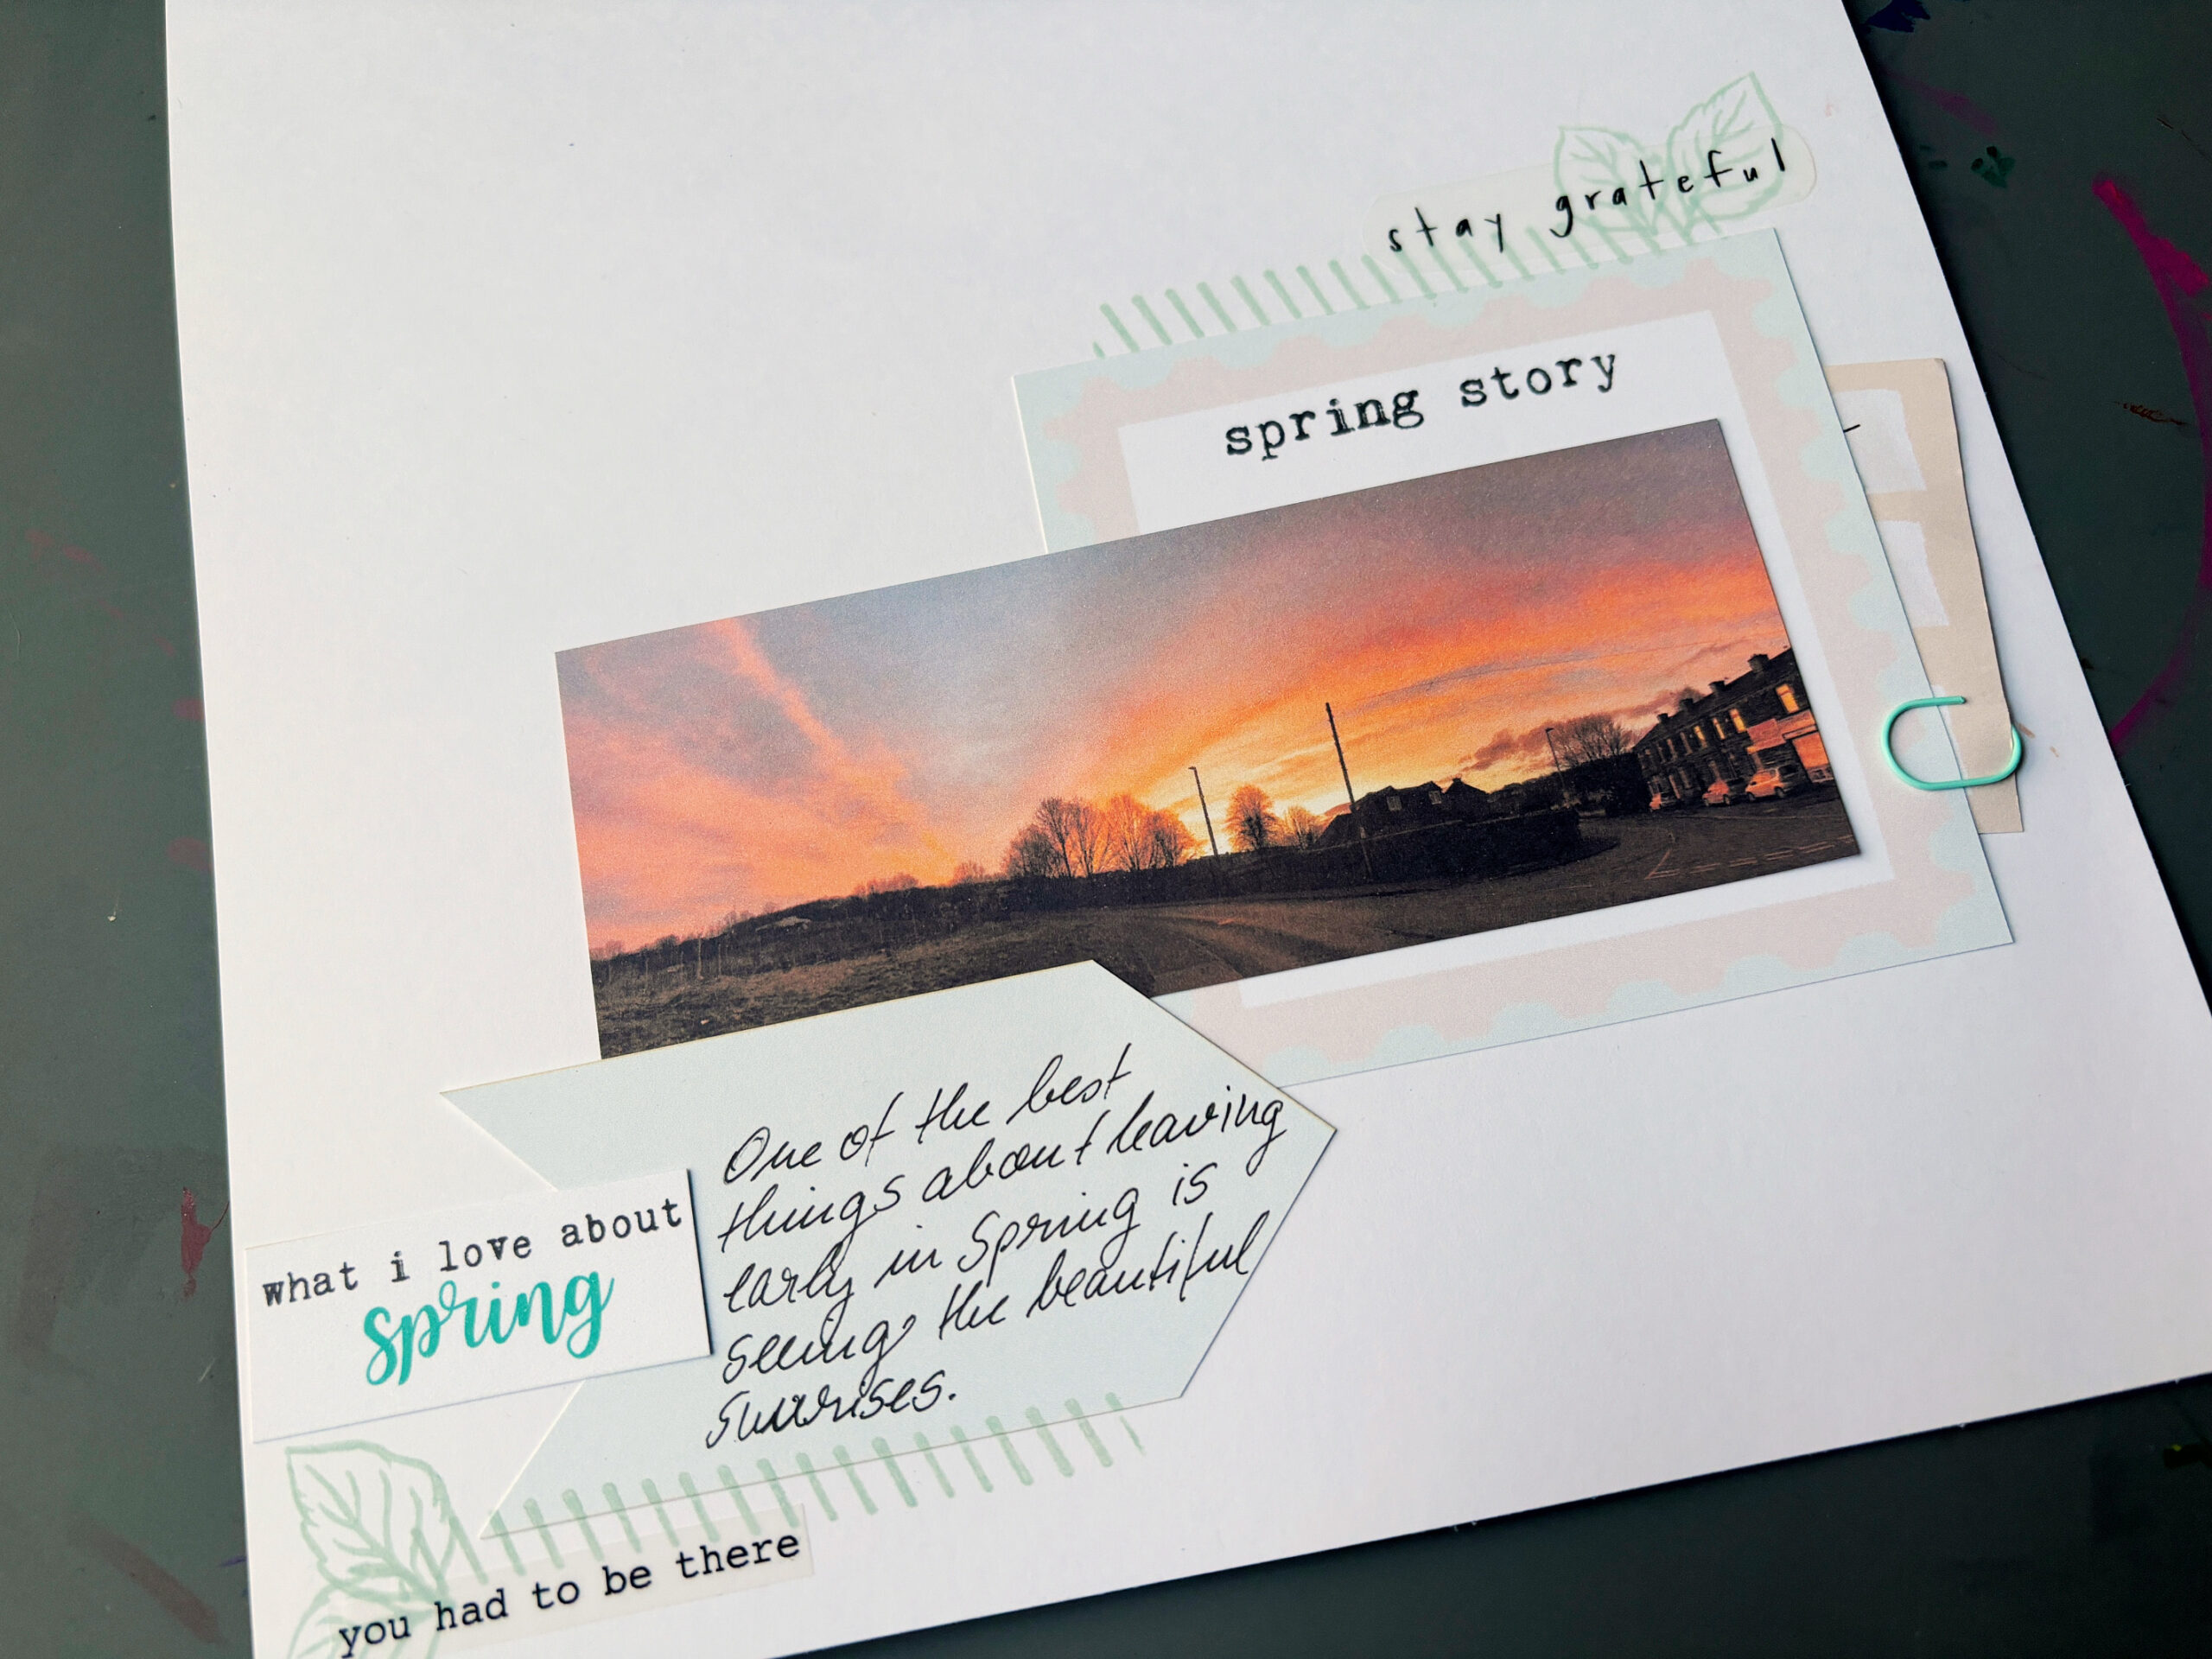
Hello, how are you? I hope this week is being kind to you. I am working again in my scrap-therapy book today and I hope you will join me to see the finished layout. There is no video today, but I’ll share the images here and hopefully get you inspired to make your own mini layout and maybe even start a scrap therapy book of your very own!
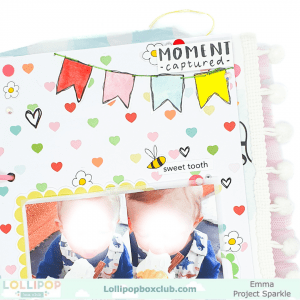
This layout came together so easily once I chose my photos. I picked out a bunch of my favourite pictures, arranged them into a grid on Pic collage, and then printed them all on one a4 sheet. This way I have lots of little pictures to choose from for my future layouts and it saves on ink, since it’s calculated by how many pages I print (I use the HP instant ink subscription for anyone wondering.) so I get charged per page, not by how much actual ink I use. Printing this way saves me time & money, it’s a real win win.
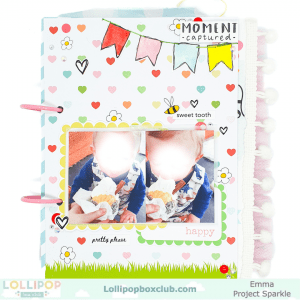
There are so many gorgeous elements in this months kit, I mean, that strawberry paper *swooooon*, another paper that caught my eye was the multicoloured tiny hearts, I like that it incorporates all of the kit colours so chose it for my background. Don’t worry I haven’t forgotten about the strawberry paper of dreams, I just have other plans for that one! After cutting my paper to size I set about working out placement for my photos, backing them onto some vellum and fussy cutting the collage sheet we got this month designed by my green cow.
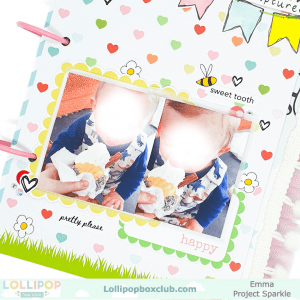
I used the banner shapes to create bunting at the top of the page, but instead of adding my usual twine or string I created the ribbon part of the bunting using the green staples that came in the kit. This was so quick and easy to do, this technique saved me a ton of time and looks great!
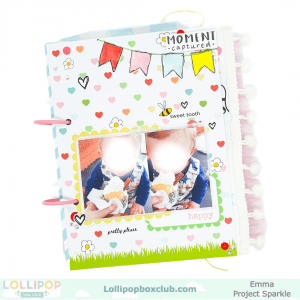
I used foam tape to create dimension. Layered a few of the ‘journaling spot’ pieces which I fussy cut to add behind the photo and popped a couple tiny word stickers onto the page too. Finally we were on to decorating. I glued down a few of the hearts from the collage sheet, all of the daisies from the sticker sheet, along with the grass strip sticker at the bottom of the page, added a bunch of gems and enamel dots, the cute bumblebee from the sticker sheet to finish it off and VOILA!
Thanks for hanging out with me today. Craft again soon!
Emma, Project Sparkle.

Leave A Comment