
As I was scrolling the photos on my phone looking for inspiration, I came across something I screenshot around 2 – 3 yers ago.
I guess I saved it because it has resonated with me at the time.
This months kit – Stories not Stuff , is perfect for putting what I have saved into paper.
I would like to add something interactive into my journal and I just had the right thing in mind – a spinning card.
Creating the spinning card
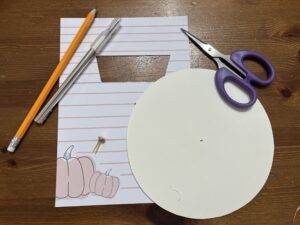
I need a blank circle card that is slightly bigger that the card I am attaching it to.
This allows for the disc to be rotated from the side .
You can use a protractor for this , but a soup bowl will work just the same.
I then measured the diameter of my circle card so I can mark the centre.
Now for the front bit, I used one of the paper in the kit to anchor and cover the circle.
I used a split pin to anchor the circle card in place. Do not put the split pin tightly as you want the disc / circle card to rotate freely.
Once I figured out the place meant of the circle card against the front cover, I cut out a window using a craft knife.
I made sure that the image and words shows through the window as the circle card is rotated. This took a lot of planning and figuring out for me.
I wasn’t sure whether there would be enough stickers or die cut in the kit.
So I made my own leaf stickers and washi but using a leaf stamp. I chose autumnal colours.

Decorating and writing
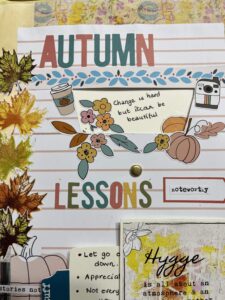
The window that I created was a good guide for me to place the stickers and write words in the circle card.
I used most of the stickers to decorate around the window – mainly to hide the not so good edges where I cut the window.
You know me , I always use a part of the Zine , so I backed it with the left over card so that I can make it into a pocket later on.
I used one of the strips from the cut apart sheet in the lit to decorate the top of the window.
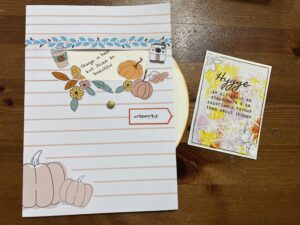
To attach it on my chosen page on my journal, I applied glue at the top and bottom of the base card only as I realised that the side was very close to the edge of the circle card.
It can potentially be glued in place if I wasn’t careful. So, I took the cautious approach.
Finishing my page
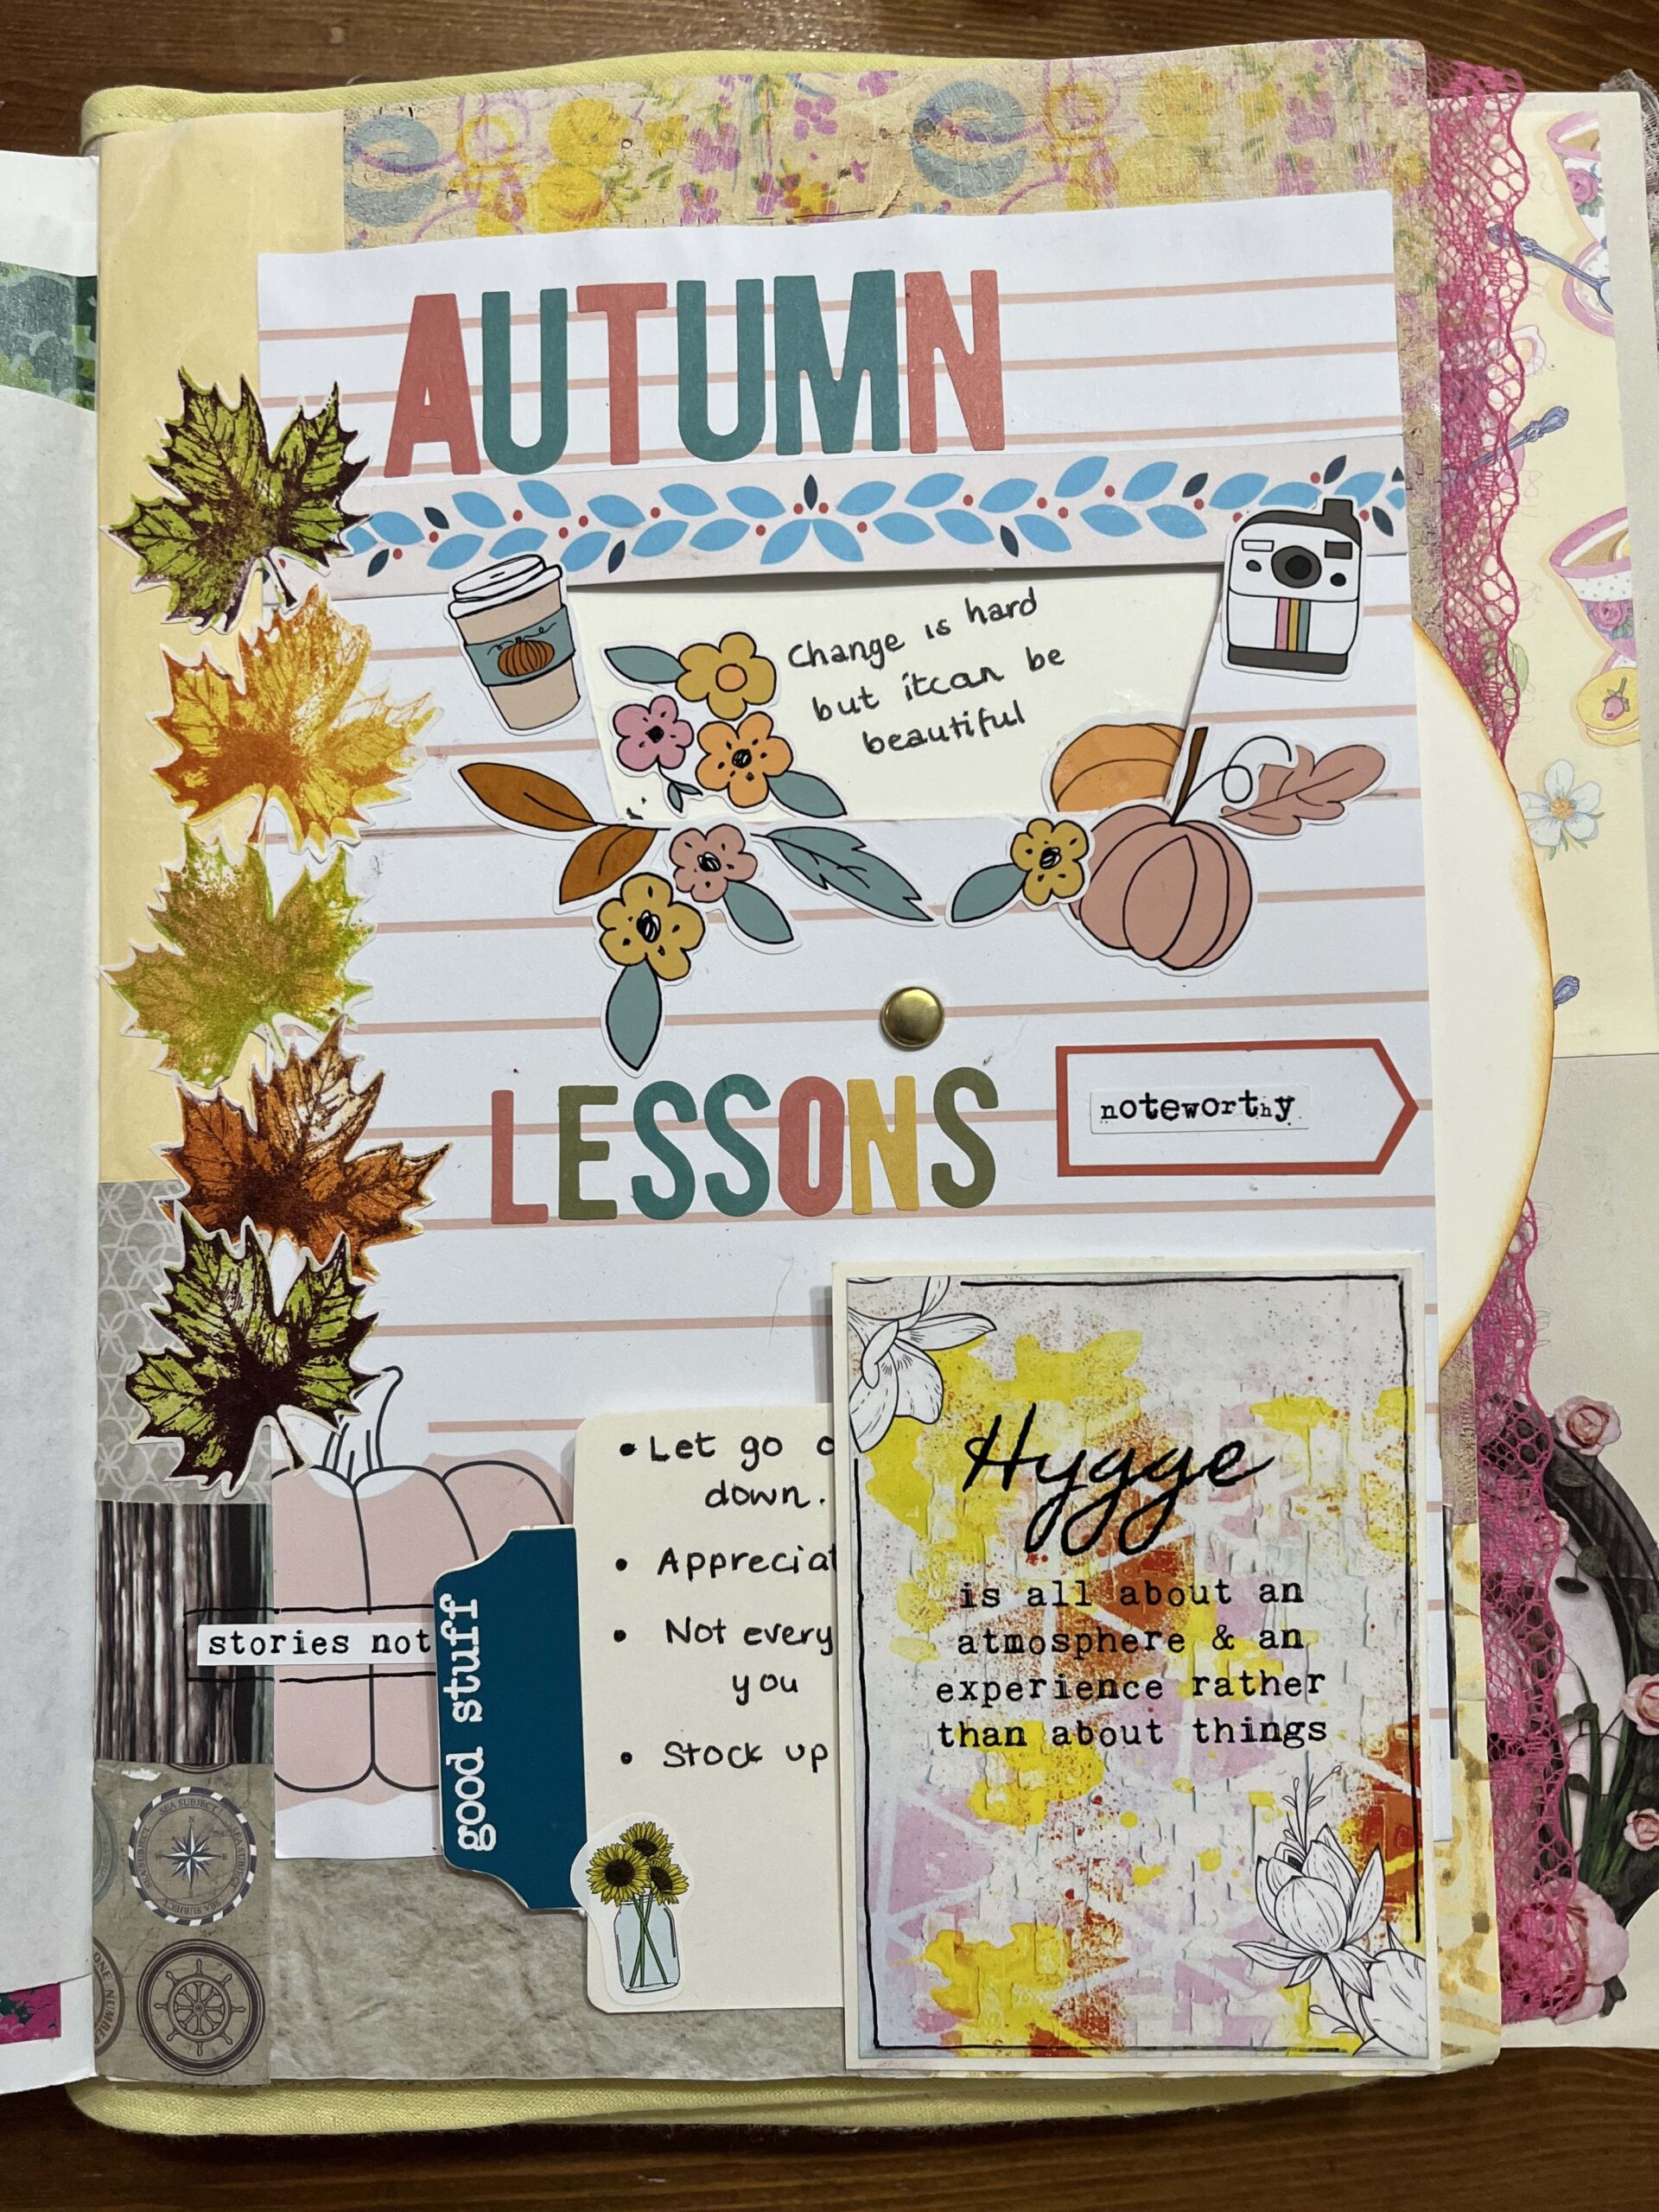
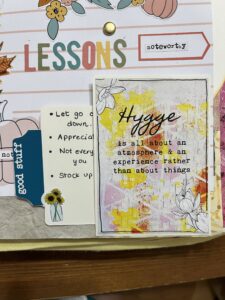
I called this page Autumn lessons.
I had an old alphabet stickers that I really need to use – I wasn’t worried that I had different colour letters.
Surprisingly , it works!
The leaf stickers were handy as I used them to close the other edge of the card.
As mentioned earlier , I made a pocket and made a tag using the left over card as an insert.
I wrote the other ” Lessons ” that I didn’t get to write on the circle card and also wrote a letter / note to myself at the back.
It will be a lovely thing to read back and remind me of the lessons that I need to go by.
I just love how the colours are in this page and it is so cheerful !
Hopefully , this year autumn wouldn’t be so wet and gloomy- fingers crossed.
Do you have any autumn lessons that you have learned ? I would love to know yours and perhaps I can add them to this existing lessons.
Till next time my dear friends…
Lots of Crafty hugs…
Sheryll
I love this Sherylll!