Hi there Lollipop friends!
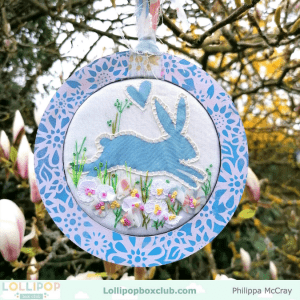
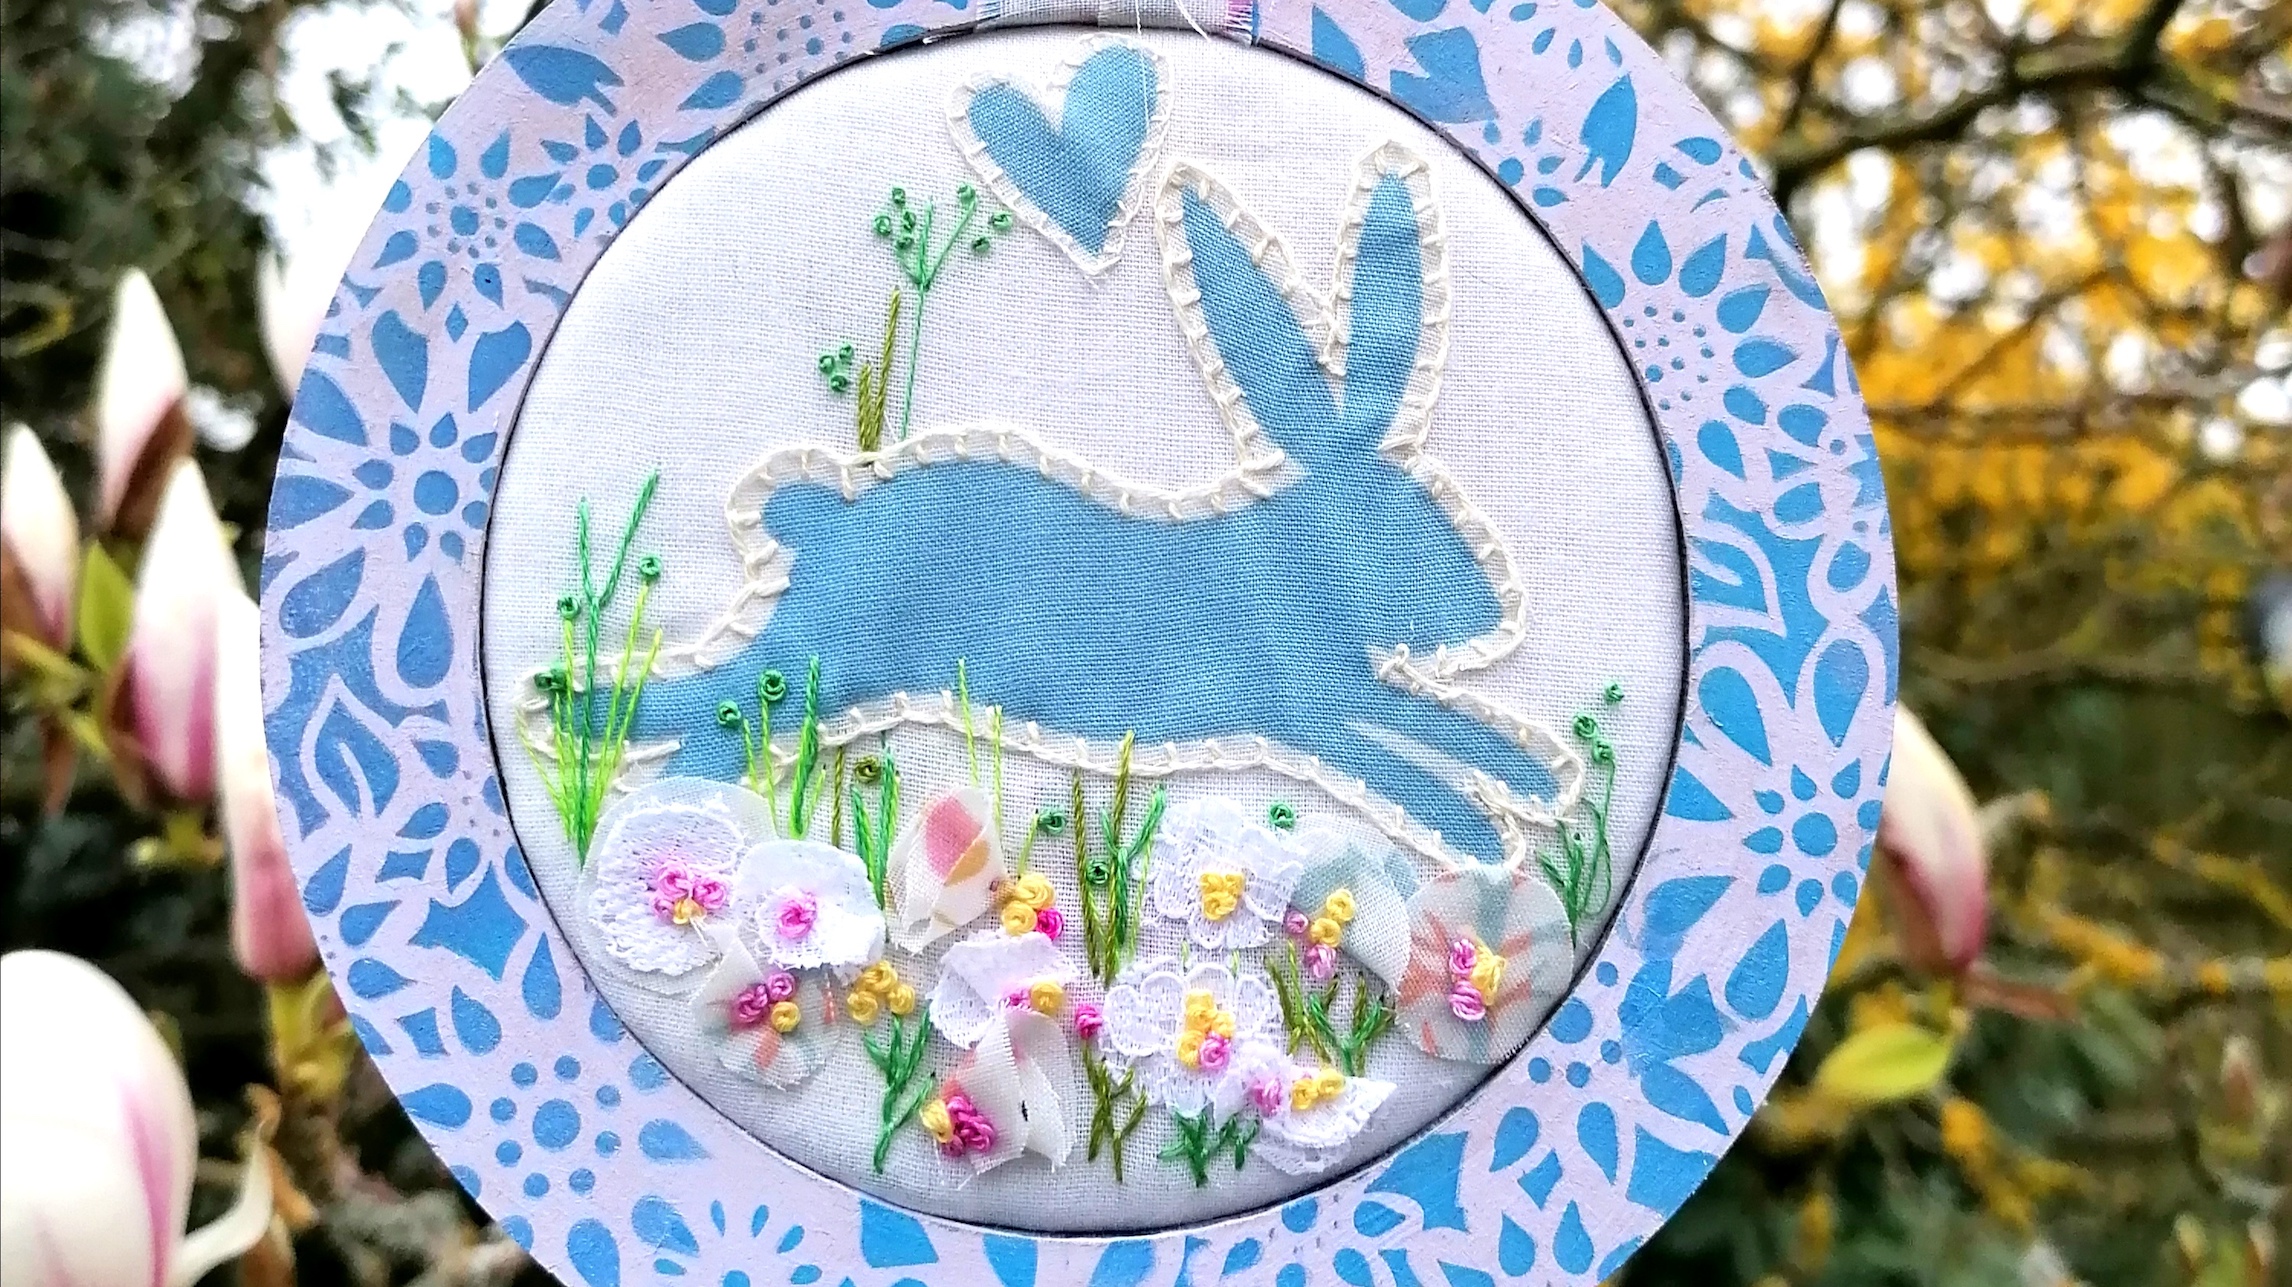
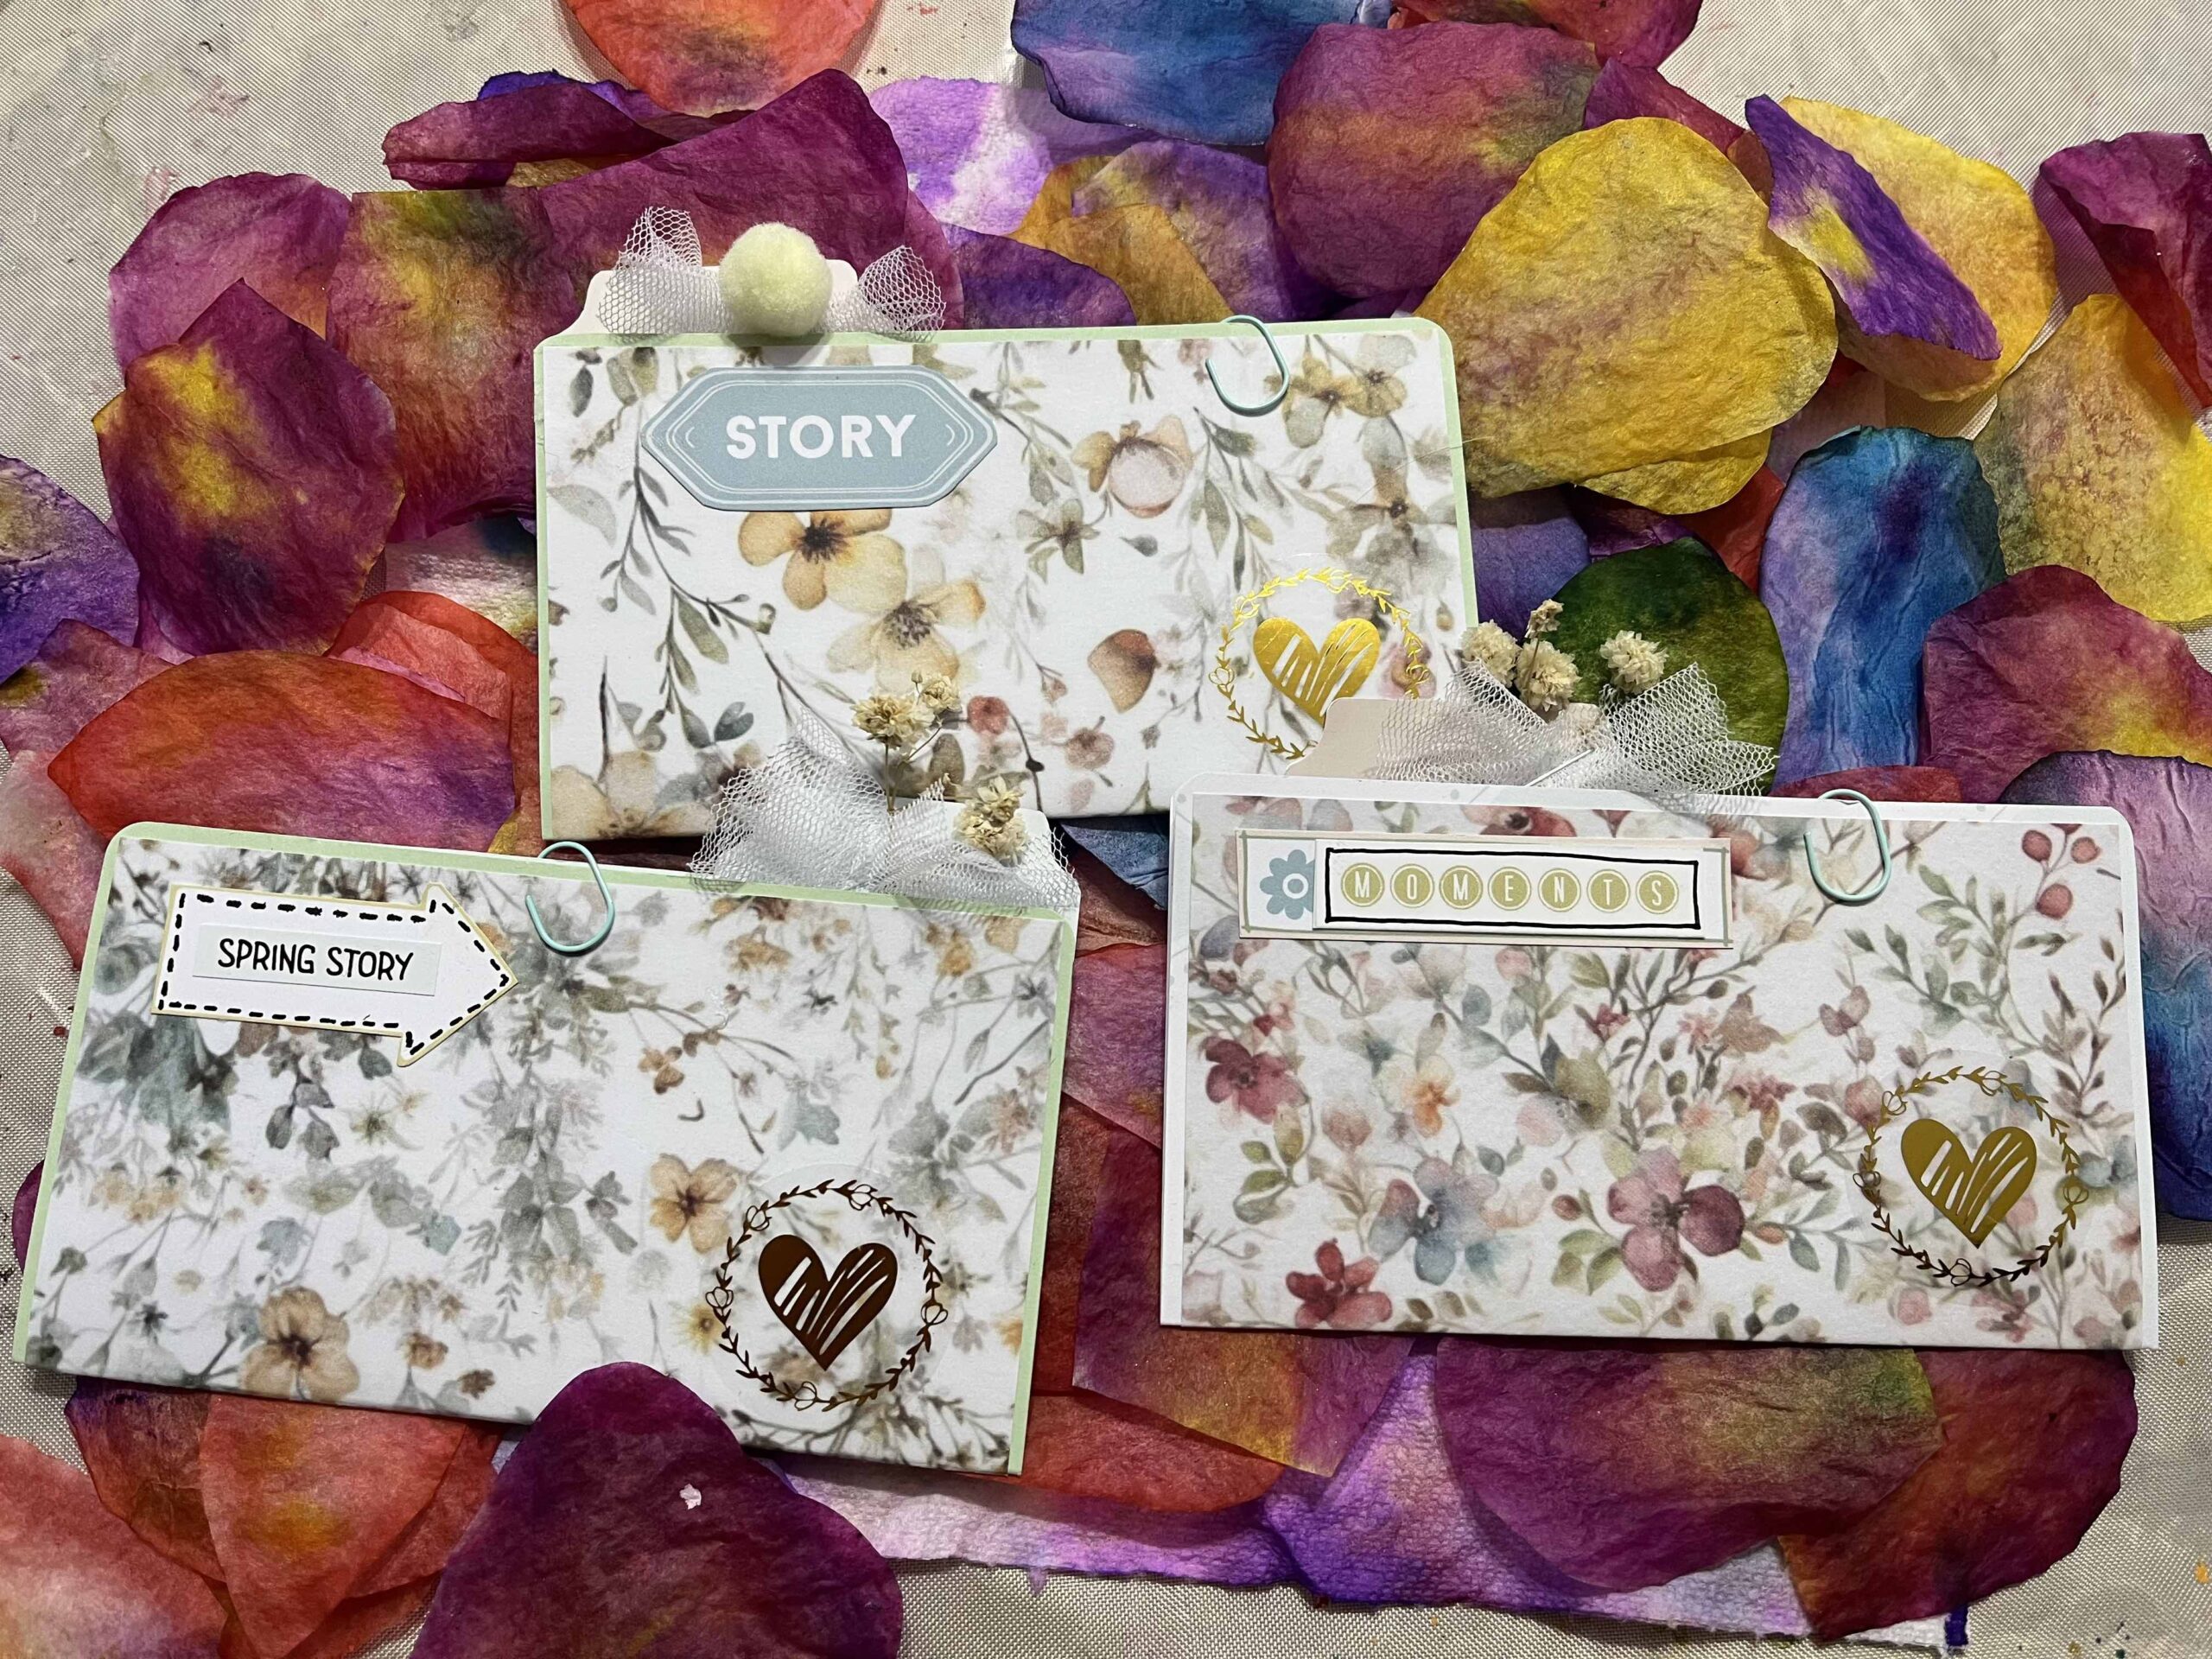
I love it when Lisa includes a piece of fabric in the kit so I was thrilled to receive my ‘Some Bunny Loves You’ kit with the pretty fabric and green net. I’ve already used the net in my memoreydex Spring project but here is what I did with my fabric piece!
I had a whole blue bunny on my fabric piece and a tiny blue heart so I cut carefully around each of them
leaving a narrow border, I cut two strips of the fabric length wise and used the remaining pieces when I made my Easter cards (I posted photos in the FB chat group) which left me with minimal scraps!
When I visited The Creative Craft Show at the NEC in Birmingham last month I bought a few wooden pieces not with a particular project in mind but because I thought they might come in handy! One thing I got was a set of rings in different sizes. I decided one of them would make a perfect frame for my little decoration.
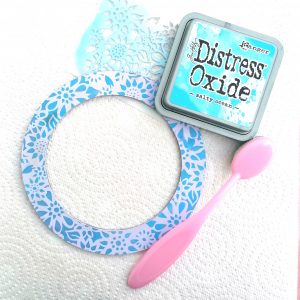
Before I set about painting it I drew around the inside of the circle faintly with pencil on to a piece of vintage fabric from my stash, I then painted the frame using acrylic paint and Distress Oxide in Salty Ocean to stencil over it. I find the sponge applicators are brilliant for stencilling!
Setting that aside to dry I mounted my fabric in an embroidery hoop and pinned the bunny in place. The bunny is stitched in place using blanket stitch worked in two strands of embroidery floss.
Cutting tiny circles freehand from the scraps of fabric I had left, along with some from a scrap of lace I arranged them in clusters and secured them with french knots in a variety of colours.
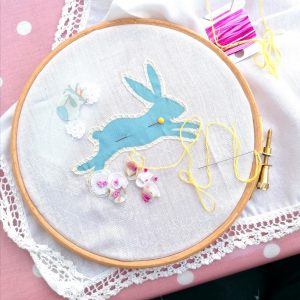
I thought it needed some grass to anchor them so used different shades of green and a variety of straight and fly stitches with some added french knots. The tiny blue heart is secured with one strand of embroidery thread and blanket stitch.
I admit I do tend to wing it most of the time and don’t always have a complete plan in mind when embarking on a project so I did wonder how I was going to secure the piece into the frame!
I cut a circle of cardboard the size of the inner circle and stuck on a piece of interlining to give added padding then good old Cosmic Shimmer glue to secure the edges to the underside. This was then glued to the larger circle cut to the size of the outer frame, thankfully the frame fitted in place snugly and I secured that with glue too, but not before remembering to tie one of the strips of cotton around it to hang the frame!
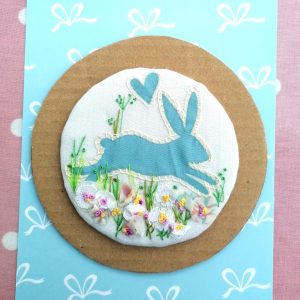
I made a bow from the other length and stitched it in place.
I was going to use a piece of the blue bow paper from the kit to cover the back but decided that would be a waste as it would be against the wall! I’d also cut some of the tiny Easter eggs from one of the papers which I was going to stick to the frame but felt that would be limiting the time I could have it on display. Leaving it as it is means I can just hang it on the noticeboard in my craft room for as long as I like!
I really enjoyed stitching this and hope I might have inspired you to look at different ways to use your fabric piece.
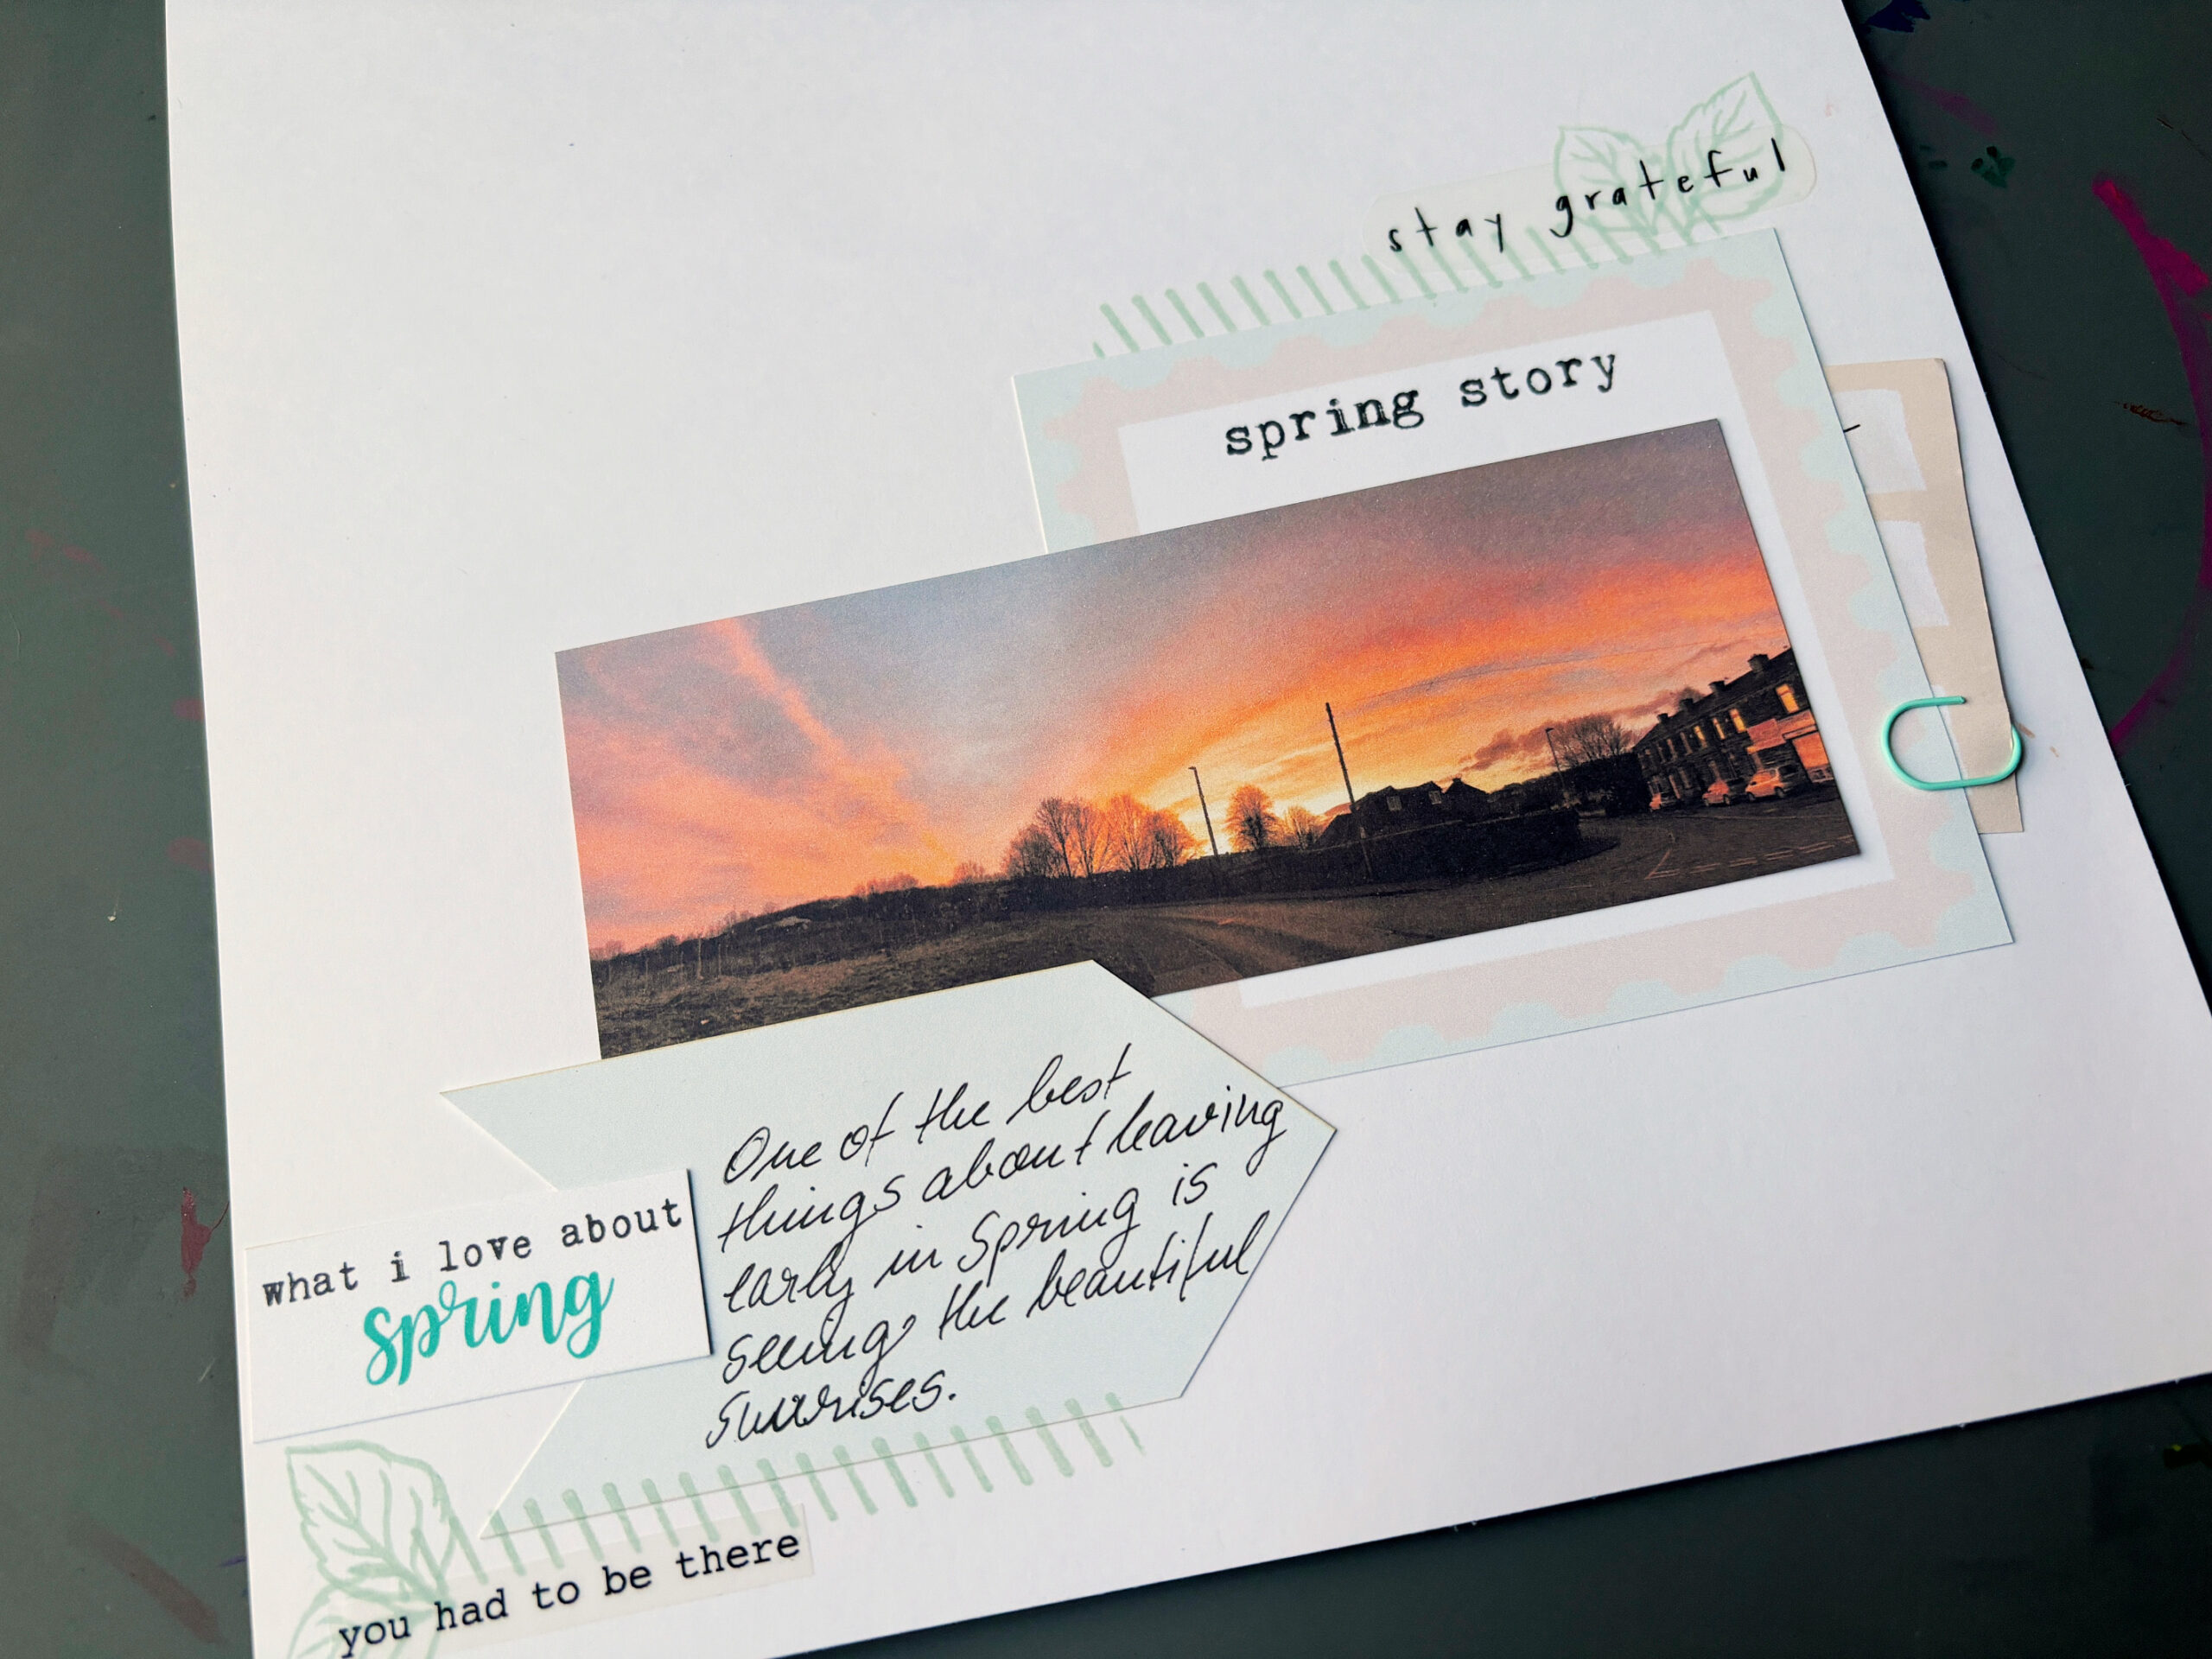
If you missed my Spring Memorydex project where I used the green net on one of the cards you can see it here.
I’ll be back later this month with a project using the new kit, until then…
Happy Crafting!
Love Philippa x

Leave A Comment