DIY Frame Embellishments – No Cutting Machine Required!
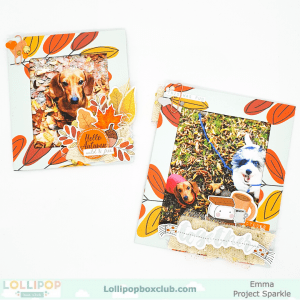
Hello! This month’s project was a request from a lovely lady on the Lollipop Box Club Facebook group. If you aren’t already a member over there, head on over and join us! I asked if there was anything specific that you guys would like to see this month and the answer was – frames! As always I have a video for you, which can be found here.
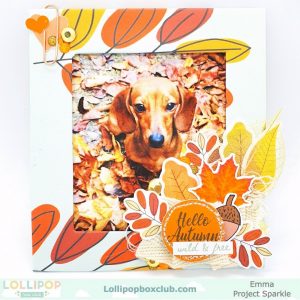
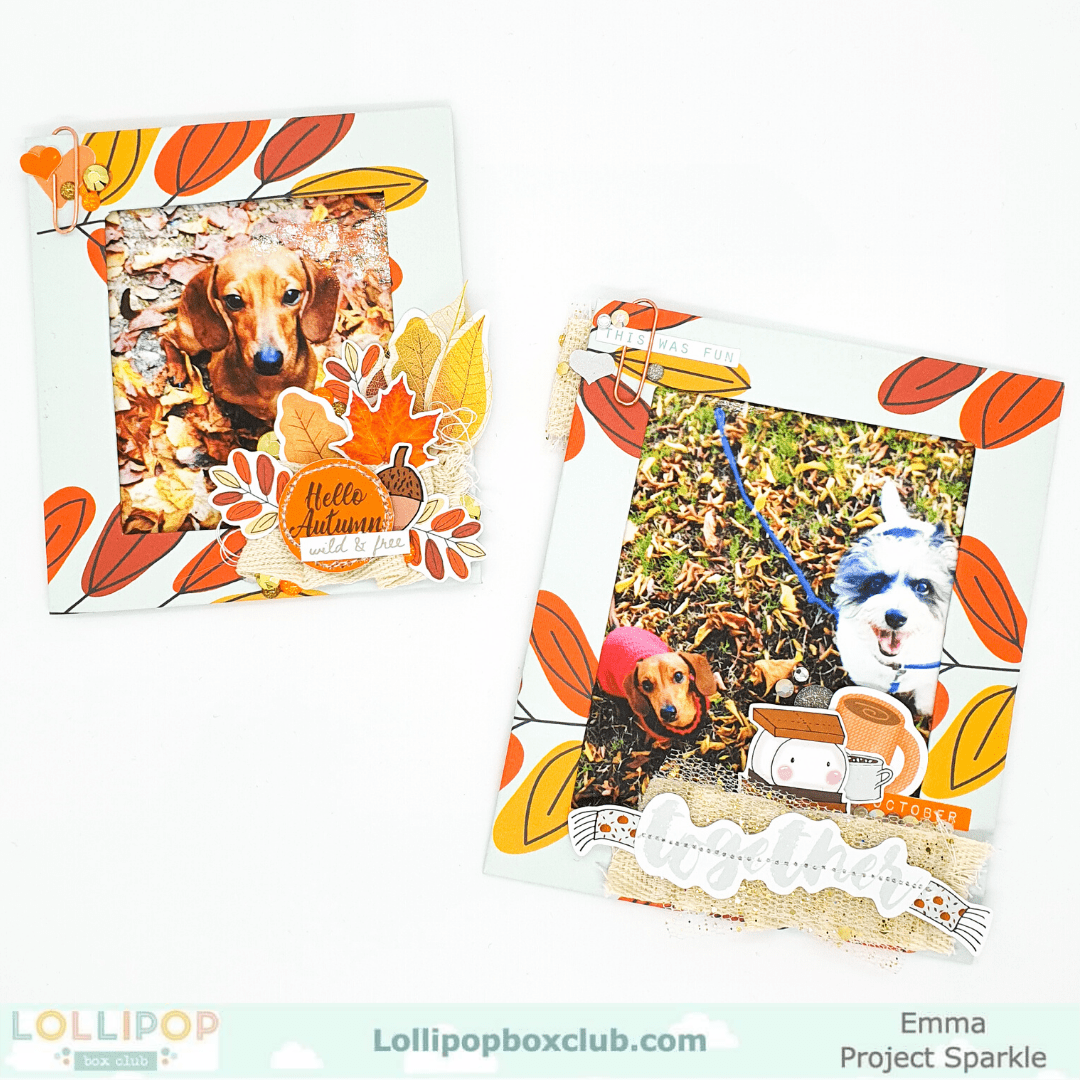
Straight away I knew what I wanted to create and I was totally inspired by Suse Fish. Full credit to her for the fabulous tutorial on her channel which I used to create the frame bases, ready for my photos and all the autumnal embellishments from the beautiful Snuggle Season Kit. You don’t need a cutting machine to make these cute little cardboard frames, which is a huge bonus and makes them accessible to everyone, which I love. You could use these as embellishments, on a 12×12 layout or pop a magnet on the back like I have to turn them into fun magnetic decor pieces.
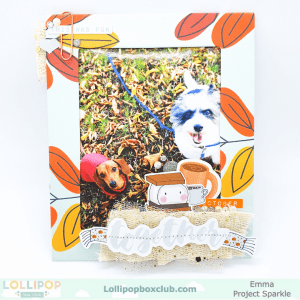
Along with the kit papers, I have used some amazon packaging to make these, but you could definitely use the box the kit comes in. This is a great project to reuse/recycle some of that old packaging we all have laying around. I have popped some photos inside my frames, but you could use a printed quote, pretty vellum, or even turn it into a shaker, they are so versatile!
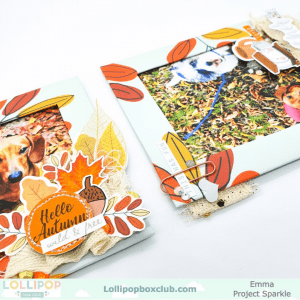
In fact these would make a great alternative to Christmas cards. Simply create the little frame to go around your favourite family photo for the year, add some festive embellishments and send it to your loved ones. You could include the magnetic version for them to keep on the fridge or simply add a message on the back. These work so well with any theme but I loved using the Snuggle Season kit to create these autumnal ones since Autumn is my favourite season and these photos were just perfect to pair with the items inside the kit. Don’t forget to use all the little extras when creating, the tissue paper, clips holding the goody bags closed and even the kit box itself can be repurposed in your project and really add the perfect little details to your creation.

I hope you have enjoyed seeing how I used this month’s kit, which can be found here, and make sure to check out the video to see how both frames came together. If you have any suggestions for future projects that you would like to see from me, make sure to leave them in the comments or find me over on the Facebook Group.
Craft again soon!
Emma, Project Sparkle x

Leave A Comment