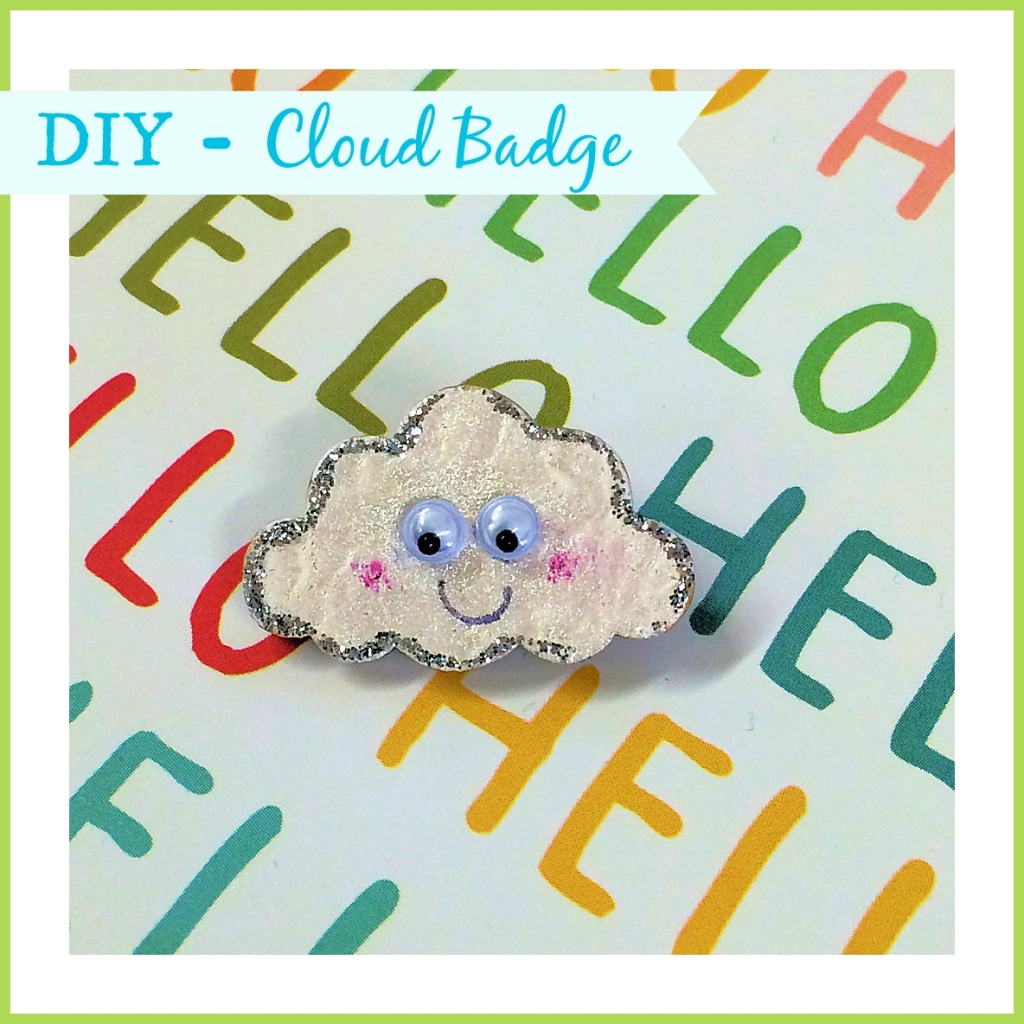
I see that the April kits are reaching their homes now. I hope you are having fun opening up all those little packages.
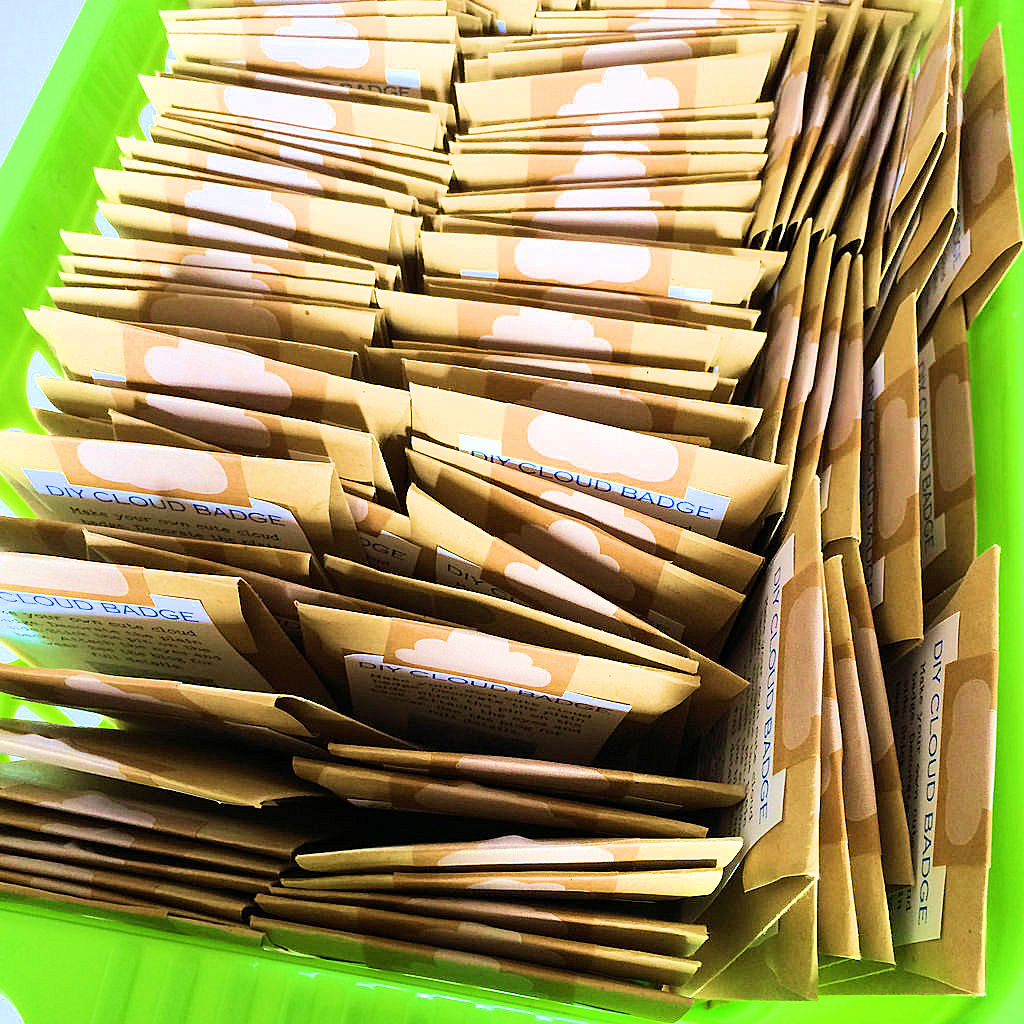
This months little DIY kit, looks like this **points above**. And makes a cute little cloud badge. I had lots of fun making mine, so hope you will have fun with yours too.
Here’s how I made mine.
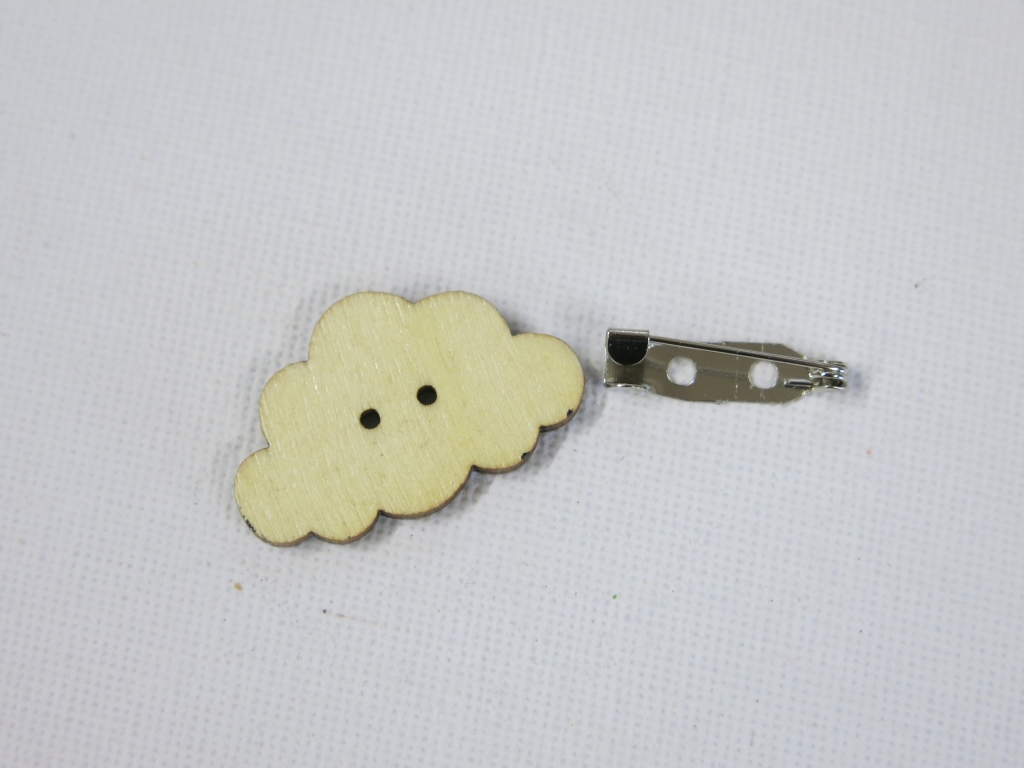
- I started off with the wooden cloud and the backing. I turned the pattern side away from me so that I could decorate the plain side.
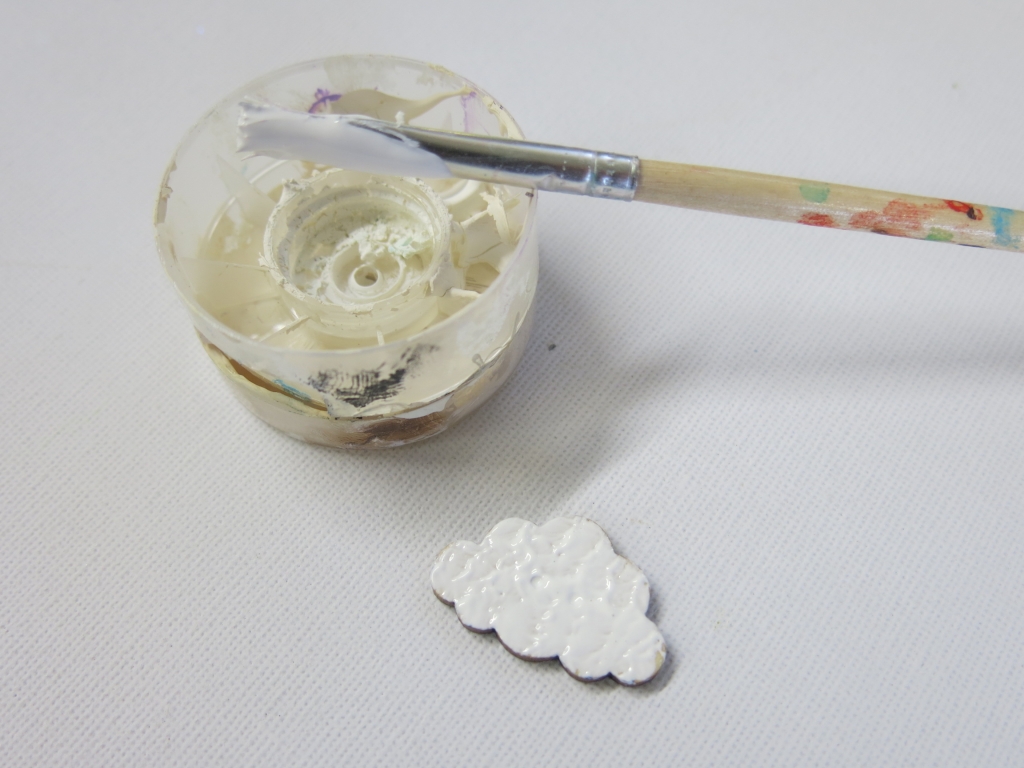
2. I painted it white just using a regular acrylic paint. This took a good couple of layers. I wanted it to be nice and thick.
3. I sprinkled on a little shimmery embossing powder.
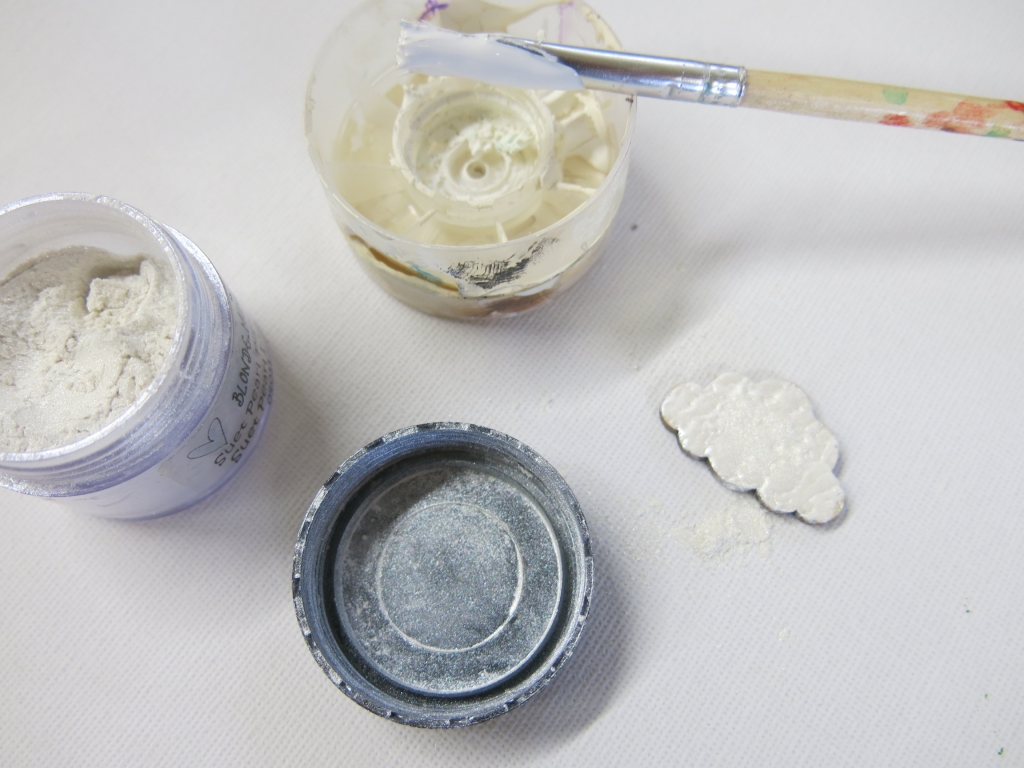
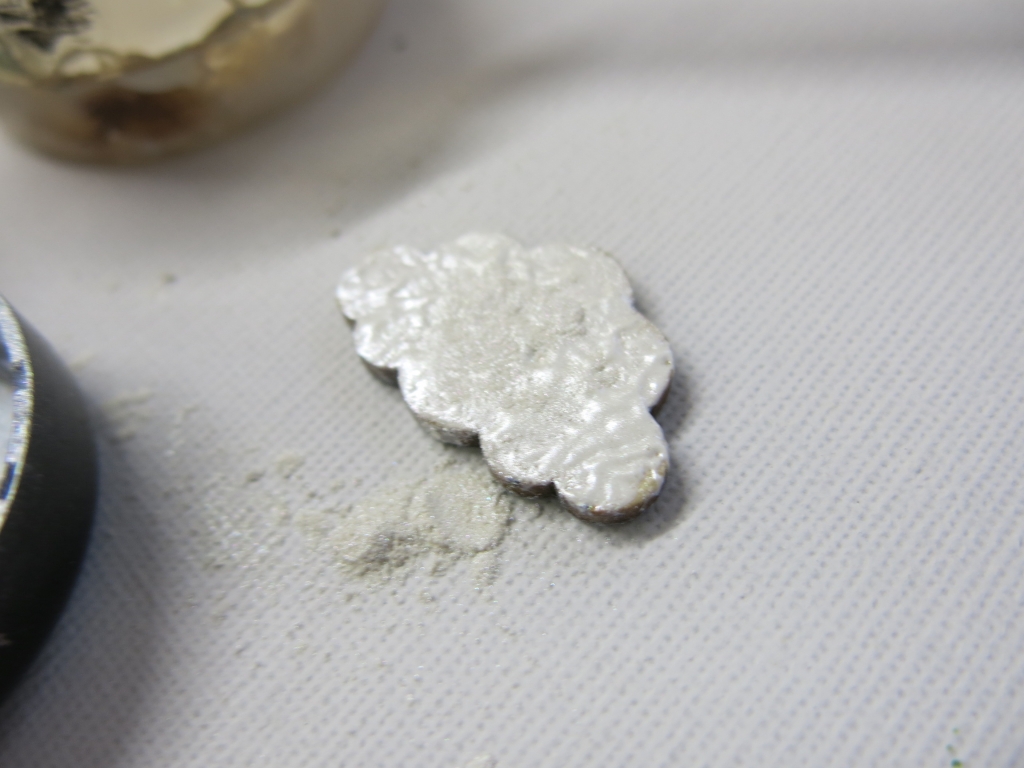
4. I dried it off with a heat gun for a few seconds. It creates a lovely texture and shimmers too. You could also sprinkle with a little glitter whilst the paint is still wet. This would look really good too.
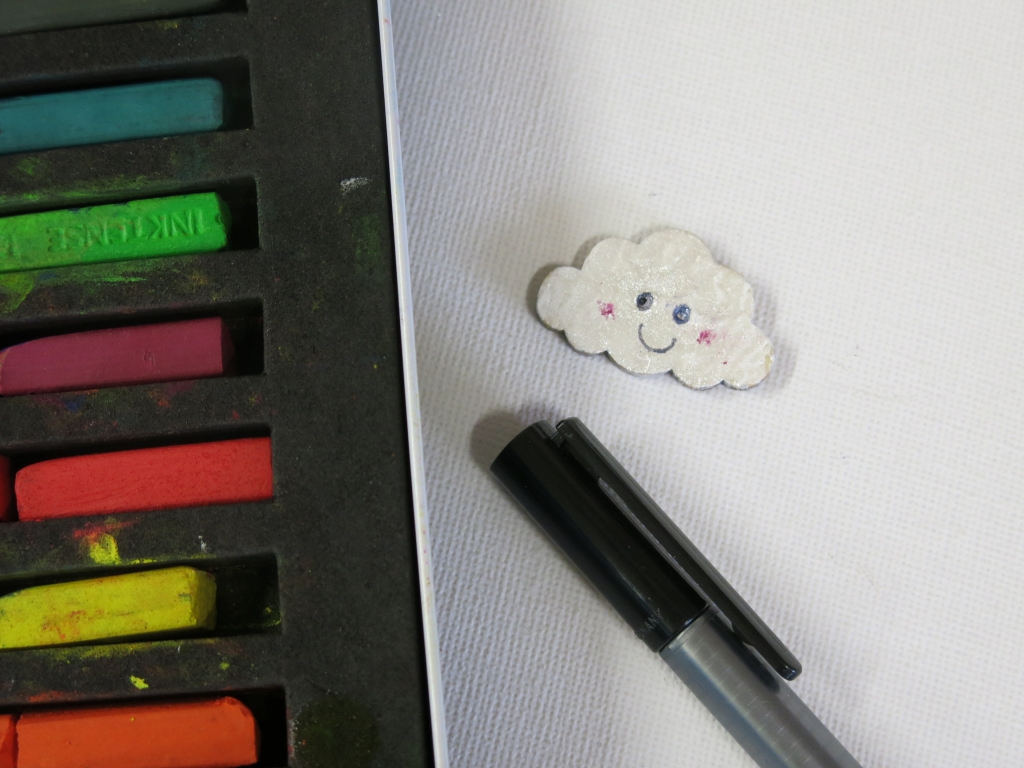
5. Once dry, I added a little smiley face to my cloud.
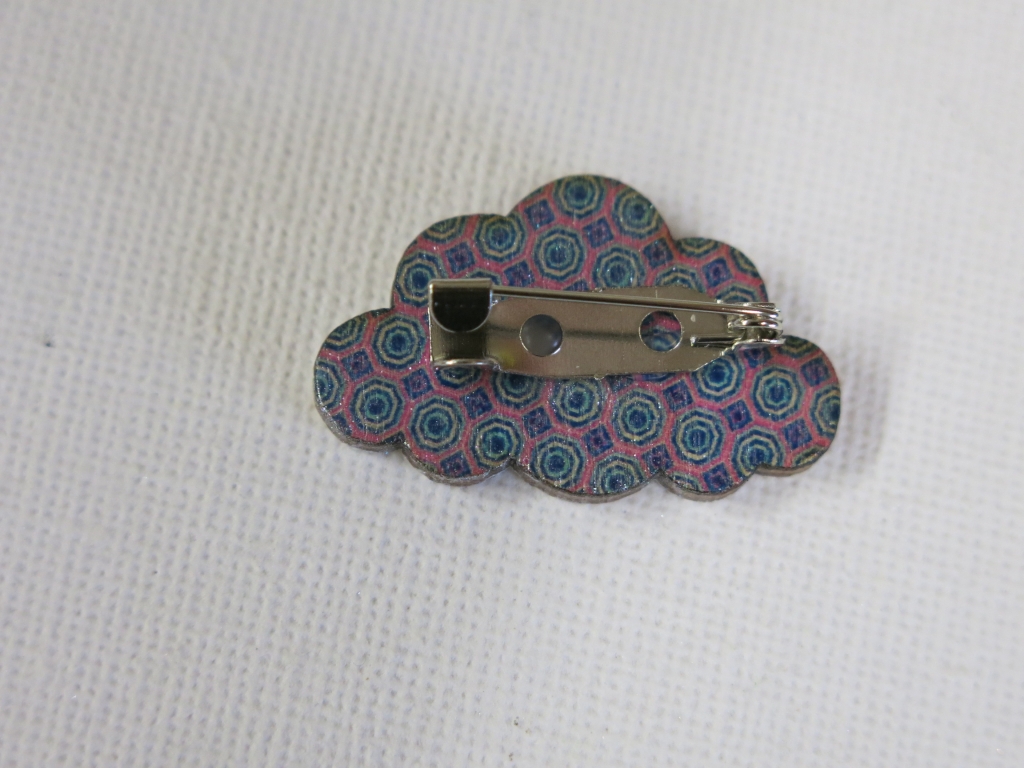
6. I stuck the clip to the patterned side of the cloud using glossy accents. I use this stuff for so many things and love that it doubles up as a fab and really strong adhesive. It does take a little while to dry though.
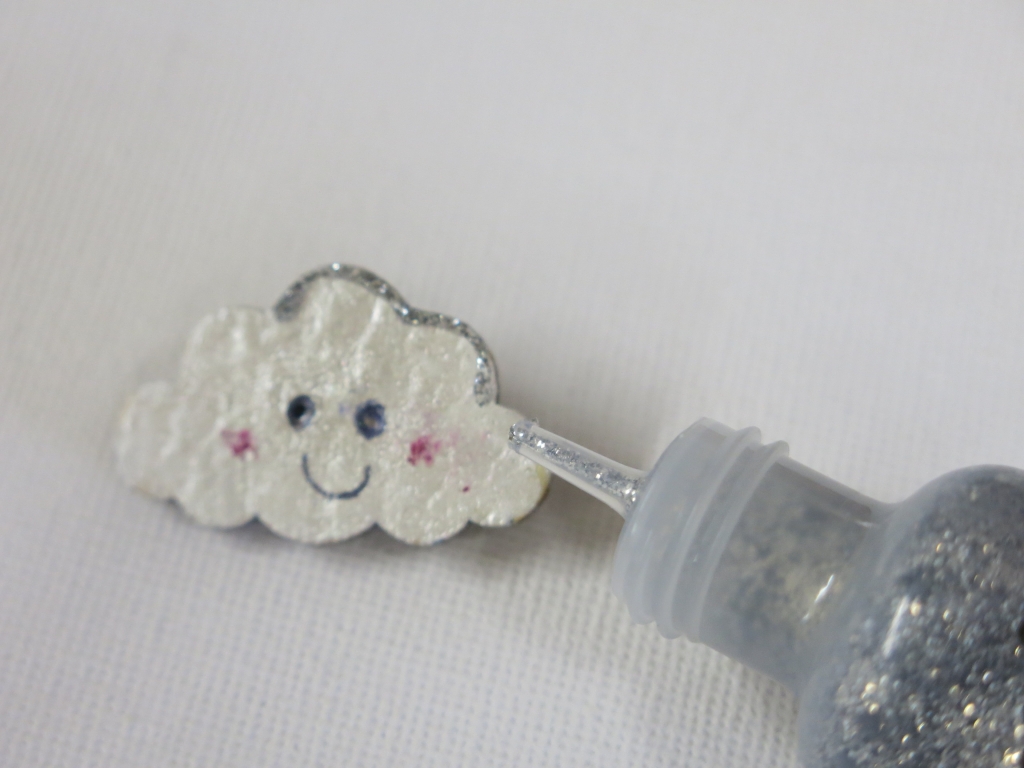
7. Every cloud needs a silver lining of course. Mine was created with some silver stickles. This also takes a little while to dry. But it’s worth the wait.

Add the googly eyes and you now have a cute cloud badge to wear.
You could also use the cloud as a template and draw around on paper and stick to the badge and decorate or even colour in the plain part of the cloud. You don’t have to use paints.
However you decorate your’s, please do come back and show us either on Facebook or Instagram. Just remember the #lollipopboxclub so we can see.
Have fun!!

great tutorial Lisa-will definitely use the embossing powder idea!