I hope you enjoyed your mystery gift inside your ‘Alice’s Tea Party Kit‘.
I really enjoy making these mixed media tags, so I thought I would share with you today how they are made. I usually make quite a few at one time and then keep them and use them on cards, scrapbook pages, project life pages and as special gift tags. I’ve made a few and framed before too. They look so pretty and are really fun to make.
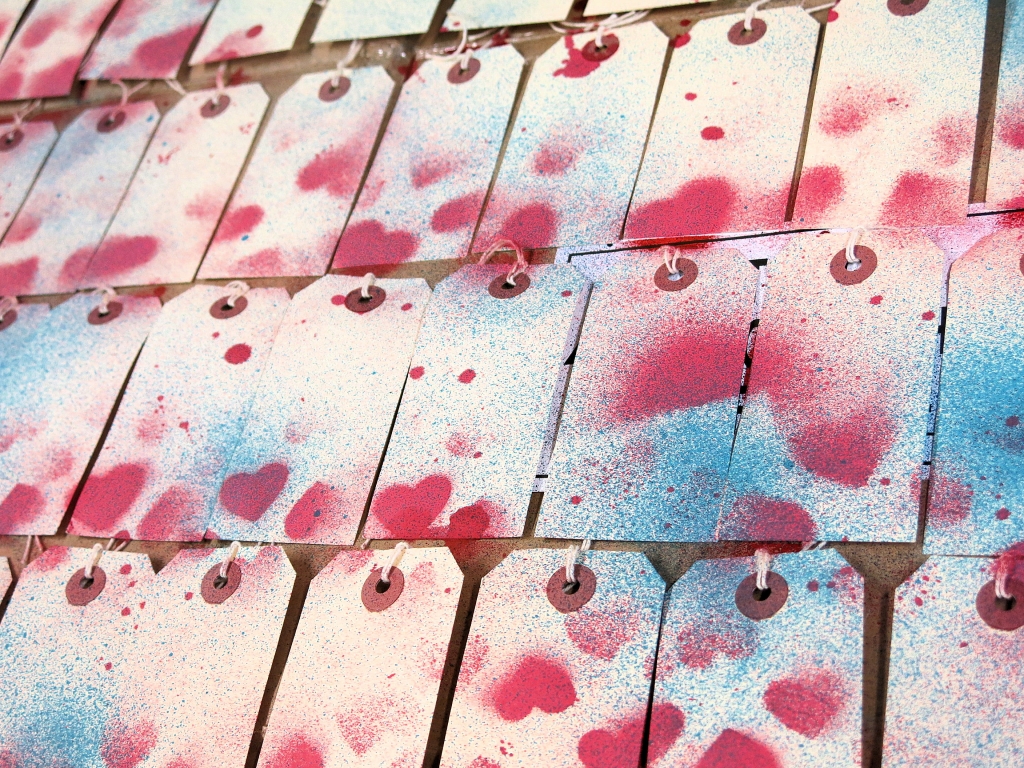
You start with blank tags. Lay them out flat side by side. I always put a big cardboard box underneath. Take a couple of mists and spray over. I used a heart stencil here too. Leave to dry or grab a heat gun to speed that process up.
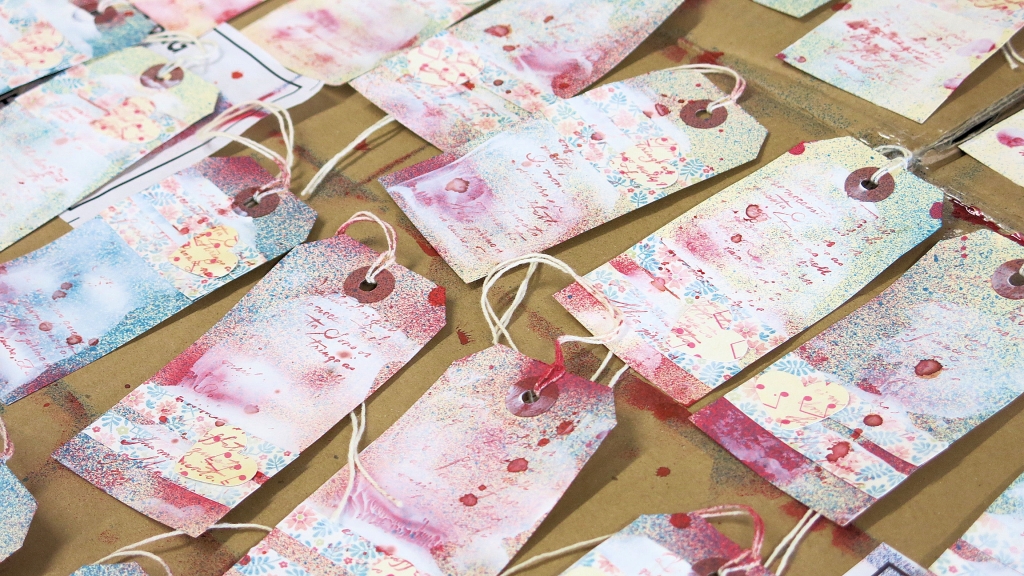
I took some scrap scrapbooking papers, but any coloured or patterned will work. I cut it in to strips and stuck 2 strips on to each tag, trimming any loose ends. I applied some white acrylic paint using an old credit card to each tag. Spreading from the top to the bottom of the tag. This was then dried.
I then took a ‘wordy’ stamp and a red ink and randomly stamped over the dry tag. It’s all about creating layers. If you aren’t happy, just add another layer.
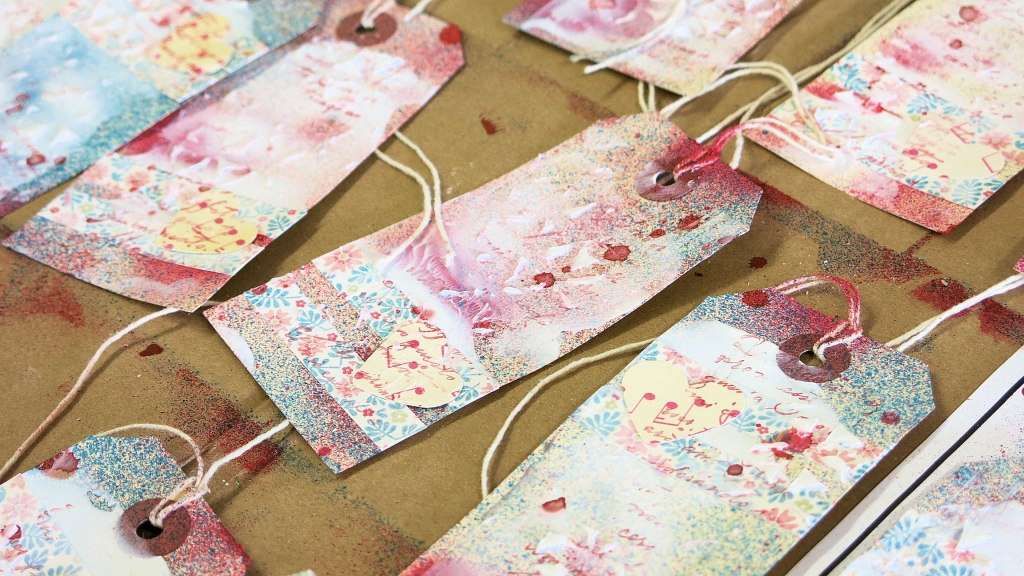
My next layer, I took a stencil and some moudling paste. I love the texture that this adds. This takes a little longer to dry.
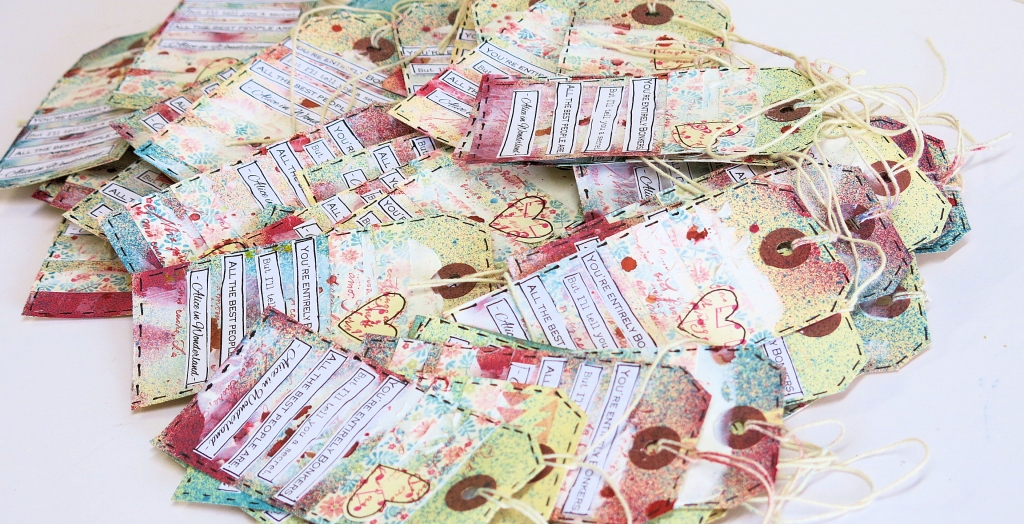
Once dry, I punched out some hearts from patterned paper (this is a good way to use up all those scraps). I also printed off a quote and cut in to strips to stick on the tags and to finish I outlined everything with a black journal pen.
They look so pretty!!!
Just be prepared to get messy fingers. Have fun xx

These look like great fun.